Model-driven Apps in PowerApps: Managing Properties
Welcome to the fifth and penultimate article in the model-driven app series! Today we will look at managing properties in a model-driven app. This series includes six articles that will help you to get to know and use model-driven apps and PowerApps:
Now that we have reviewed security considerations, understood how to use the App Designer, learned about the controls and power of the Site Map and added components to the app, we can move on to reviewing some of the properties available.
In the App Designer, we have been working in the Components tab. If you click on the Properties tab, shown in the screen shot below, you have access to a number of areas to update and customize.
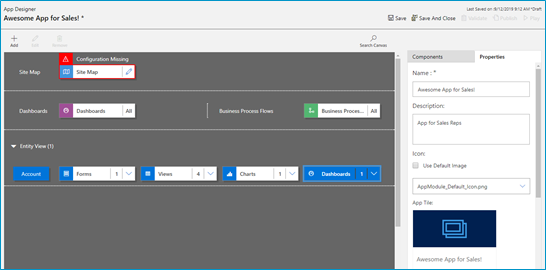
You can edit the following areas:
- Name: The name of the App that displays to users.
- Description: Description of the App that will appear to users.
- Icon: By default, it will use the Default image. Follow the steps below to update icon image.
- Advanced: Modify unique name, unified interface URL, add a welcome page and enable Mobile Offline in this area.
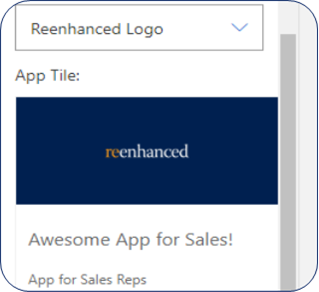
If you want to use an image apart from the default Microsoft image (below), you can follow these three simple steps:

- Add New Web Resource to your solution
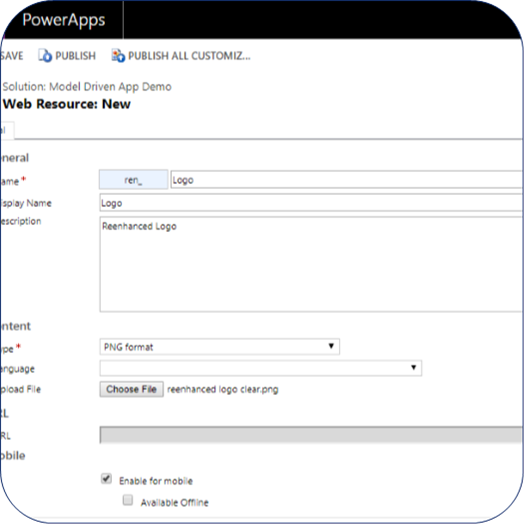
- In App Properties, uncheck the box “Use Default Image”
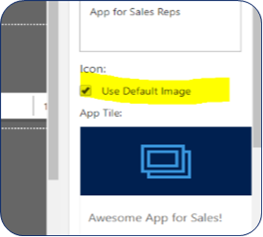
- Select the logo/image you added in step 1 and view a preview of the updated App image. When complete, click Save at the bottom of the Properties tab.
There is only one article left in our series: focused on the Users. Stay tuned for the exciting conclusion!