Dynamics 365 CRM System Administrator How To Guide: Add Fields to an Entity Search
Have you ever wanted to change what fields are searched for within an entity? This is entirely configurable if you are a System Administrator or have proper permissions to do so. Let’s walk through this simple update to the Quick Find View!
Problem: The Lead entity is not searching for any phone number or email fields. I need email, business phone and mobile phone to be fields that can be searched when my pre-sales team is in CRM filtering and sorting through their data.
Solution: I need to update the Quick Find View in the Leads entity. Here are step-by-step instructions on how to do this.
- In a Solution File in Power Apps, add the Lead entity and the Quick Find View.
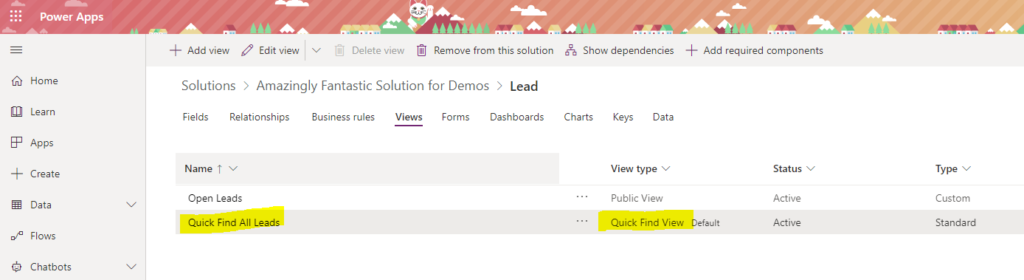
2. Open the Quick Find View. You can add or remove search columns on the right-hand column under the Find by... heading.
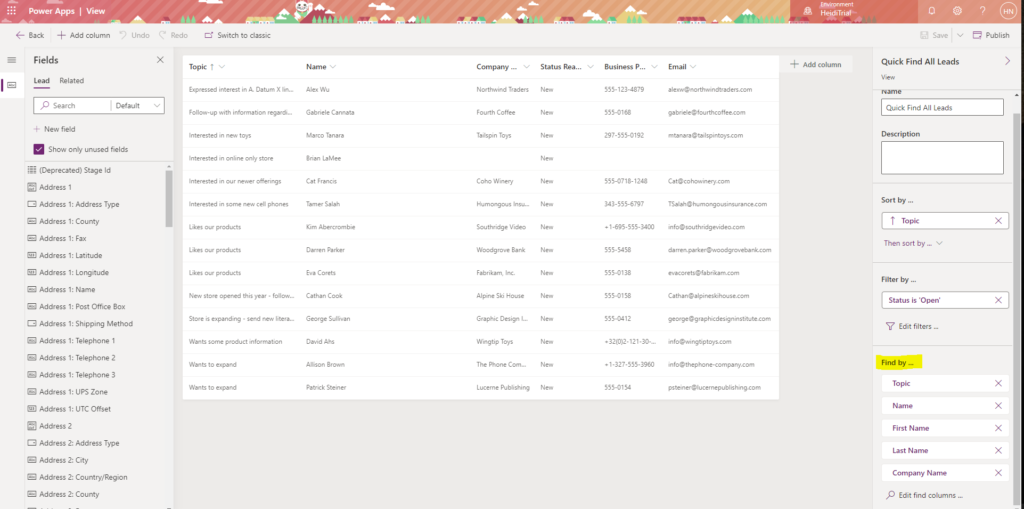
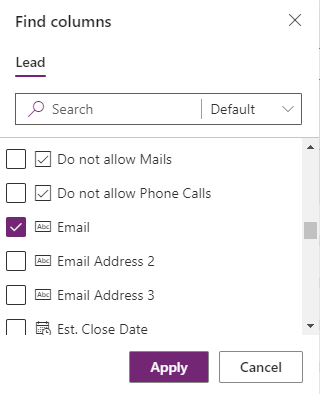
3. Click the Edit find columns… button at the bottom of the Find by… heading highlighted above. Check the boxes next to the column(s) you want to add. In this example, we are adding Email, Business Phone and Mobile Phone. After selecting these fields, click the Apply button at the bottom.
4. Click Save and Publish when you are back on the View Canvas!
- In a Solution File, add the Lead entity and the Quick Find View.
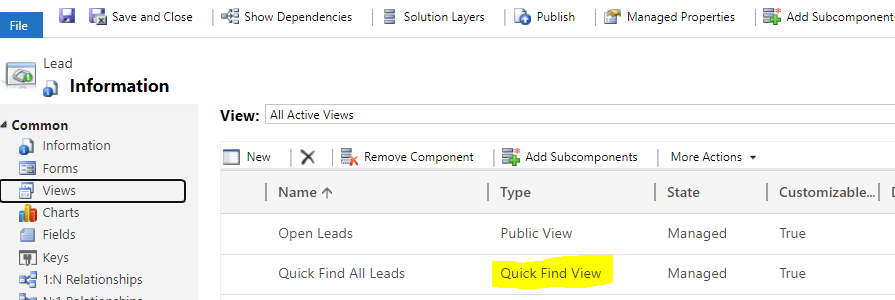
2. Open the Quick Find View.
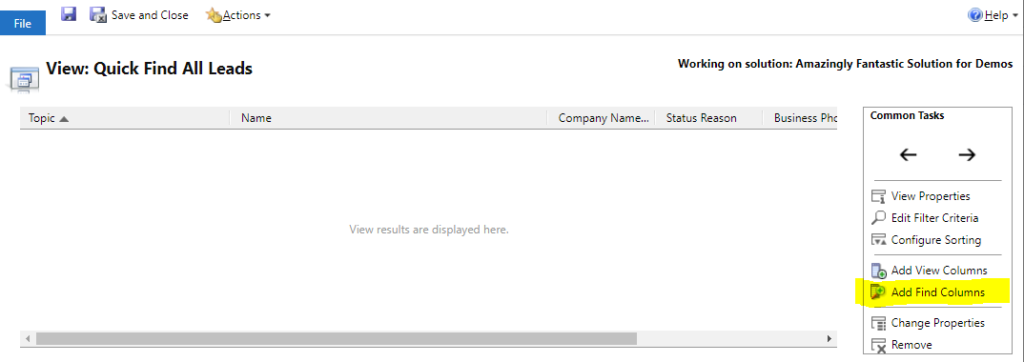
3. In the Common Tasks box, click Add Find Columns.
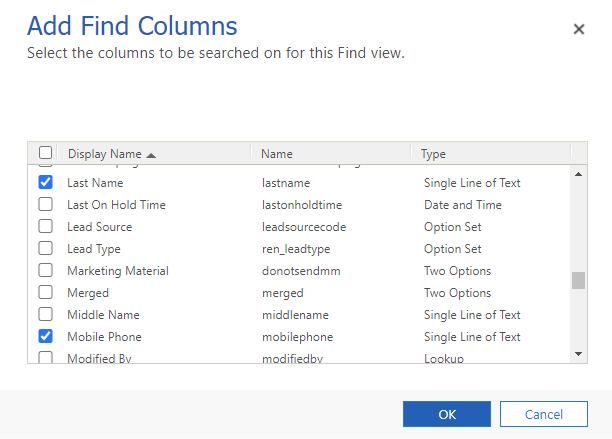
4. In the Add Find Columns window that opens up, select the fields for Email, Business Phone and Mobile Phone. Click OK at the bottom when complete.
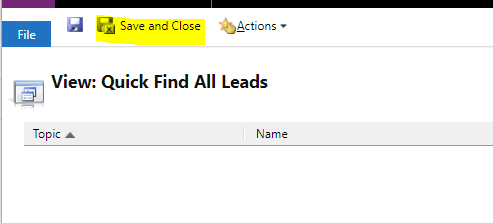
5. Click Save and Close at the top of the View designer. Publish your changes in the solution file.
This section will be updated as more articles are written in the How To Guide for System Administrators.