Dynamics 365 CRM System Administrator How To Guide: Add or Remove Entities in Global Search
As a System Administrator, you may want to add or remove entities that appear in global search. Dynamics 365 comes with certain entities (or tables, as is the current vernacular) turned on for Global Search: Account, Lead, Contact, Opportunity, Activity, Case, User is the standard lineup.
Problem: My organization doesn’t use Cases, and we use two custom entities that are not currently part of global search (but should be).
Solution: I need to remove Cases and add the custom entities in Global Search. Here are step-by-step instructions on how to add and remove entities from global search in Dynamics 365.
This is a system settings update, so you will make the change in your model-driven app (not in Power Apps). If you want this change made in multiple environments (Dev, Sandbox, Production), you will need to repeat these steps in each. You will need System Administrator or System Customizer security roles to make these updates to your system.
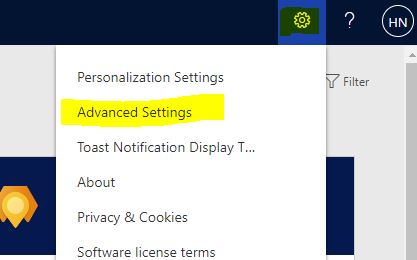
- Navigate to Advanced Settings from Dynamics 365. At the top right-hand corner, click the gear icon, then select Advanced Settings.
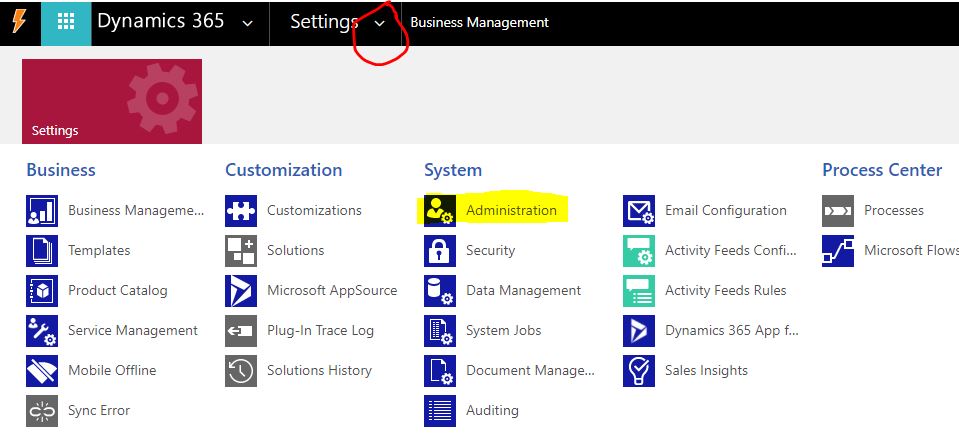
- Select Settings > Administration. Click the carrot next to Settings to expand the full settings menu. Then, choose Administration (highlighted below).
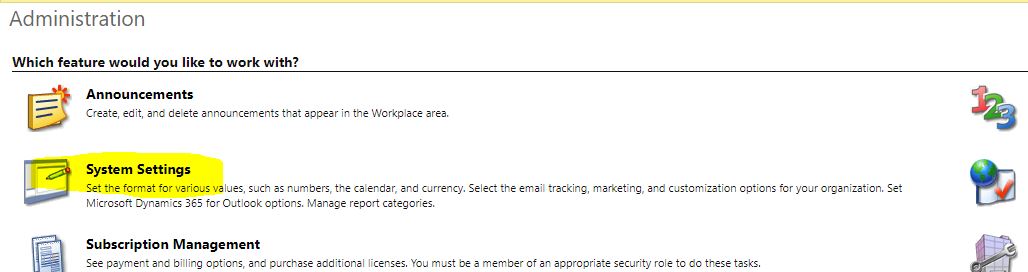
- Open System Settings (highlighted below).
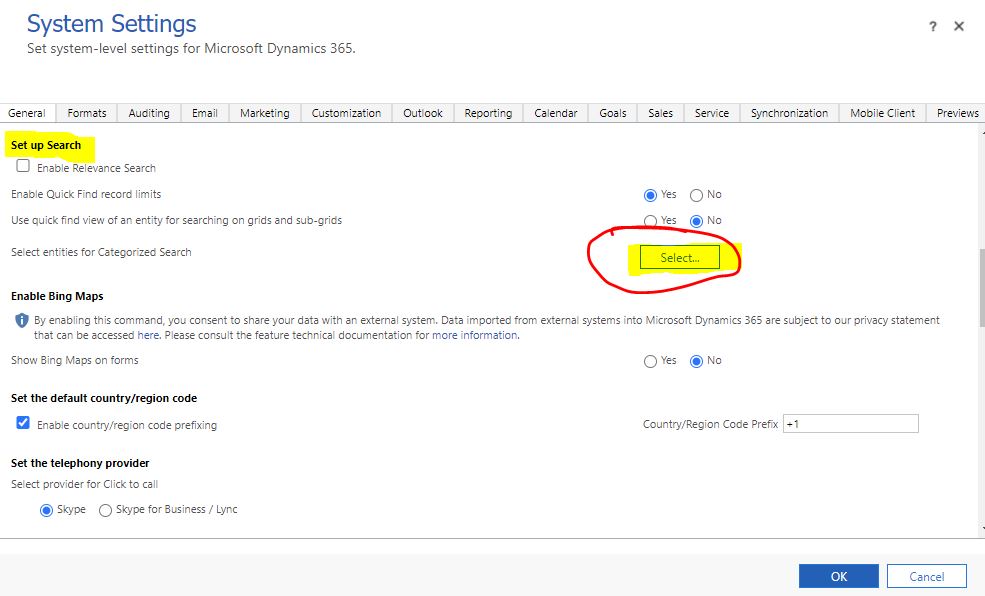
- About halfway down the General Tab, find the “Set up Search” area. Click the Select… button (circled below) next to “Select entities for Categorized Search.”
- In a new window that pops up, you will select the entities that should be searched when users are utilizing the Global Search feature.
* To Remove: Select any from the right-hand column, click the “< Remove” button and they will no longer be included in Global Search.
* To Add: Select any Available Entity from the left-hand column. Click the “Add >” button to move it to “Selected Entities.”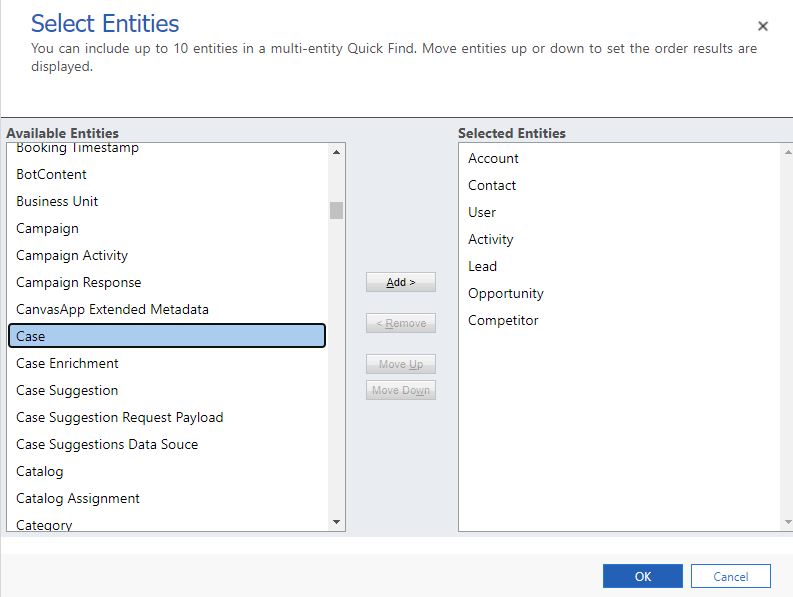
- Click OK when you are finished.
- You can include up to 10 entities (tables) in the search.
- The order in the “Selected Entities” section will be the order in which a user’s results are displayed.
- Don’t forget to update your system settings in all environments!
This section will be updated as more articles are written in the How To Guide for System Administrators.