How to connect with XrmToolBox using Multifactor Authentication
With enhanced security no longer an option for many organizations, you might find yourself needing to connect to XrmToolBox using MFA (Also known as Two-factor authentication or Multi-Factor Authentication.) Doing this for the first time can be intimidating!
Let’s go through a step-by-step animated guide of how to get you up and running in less than 3 minutes.
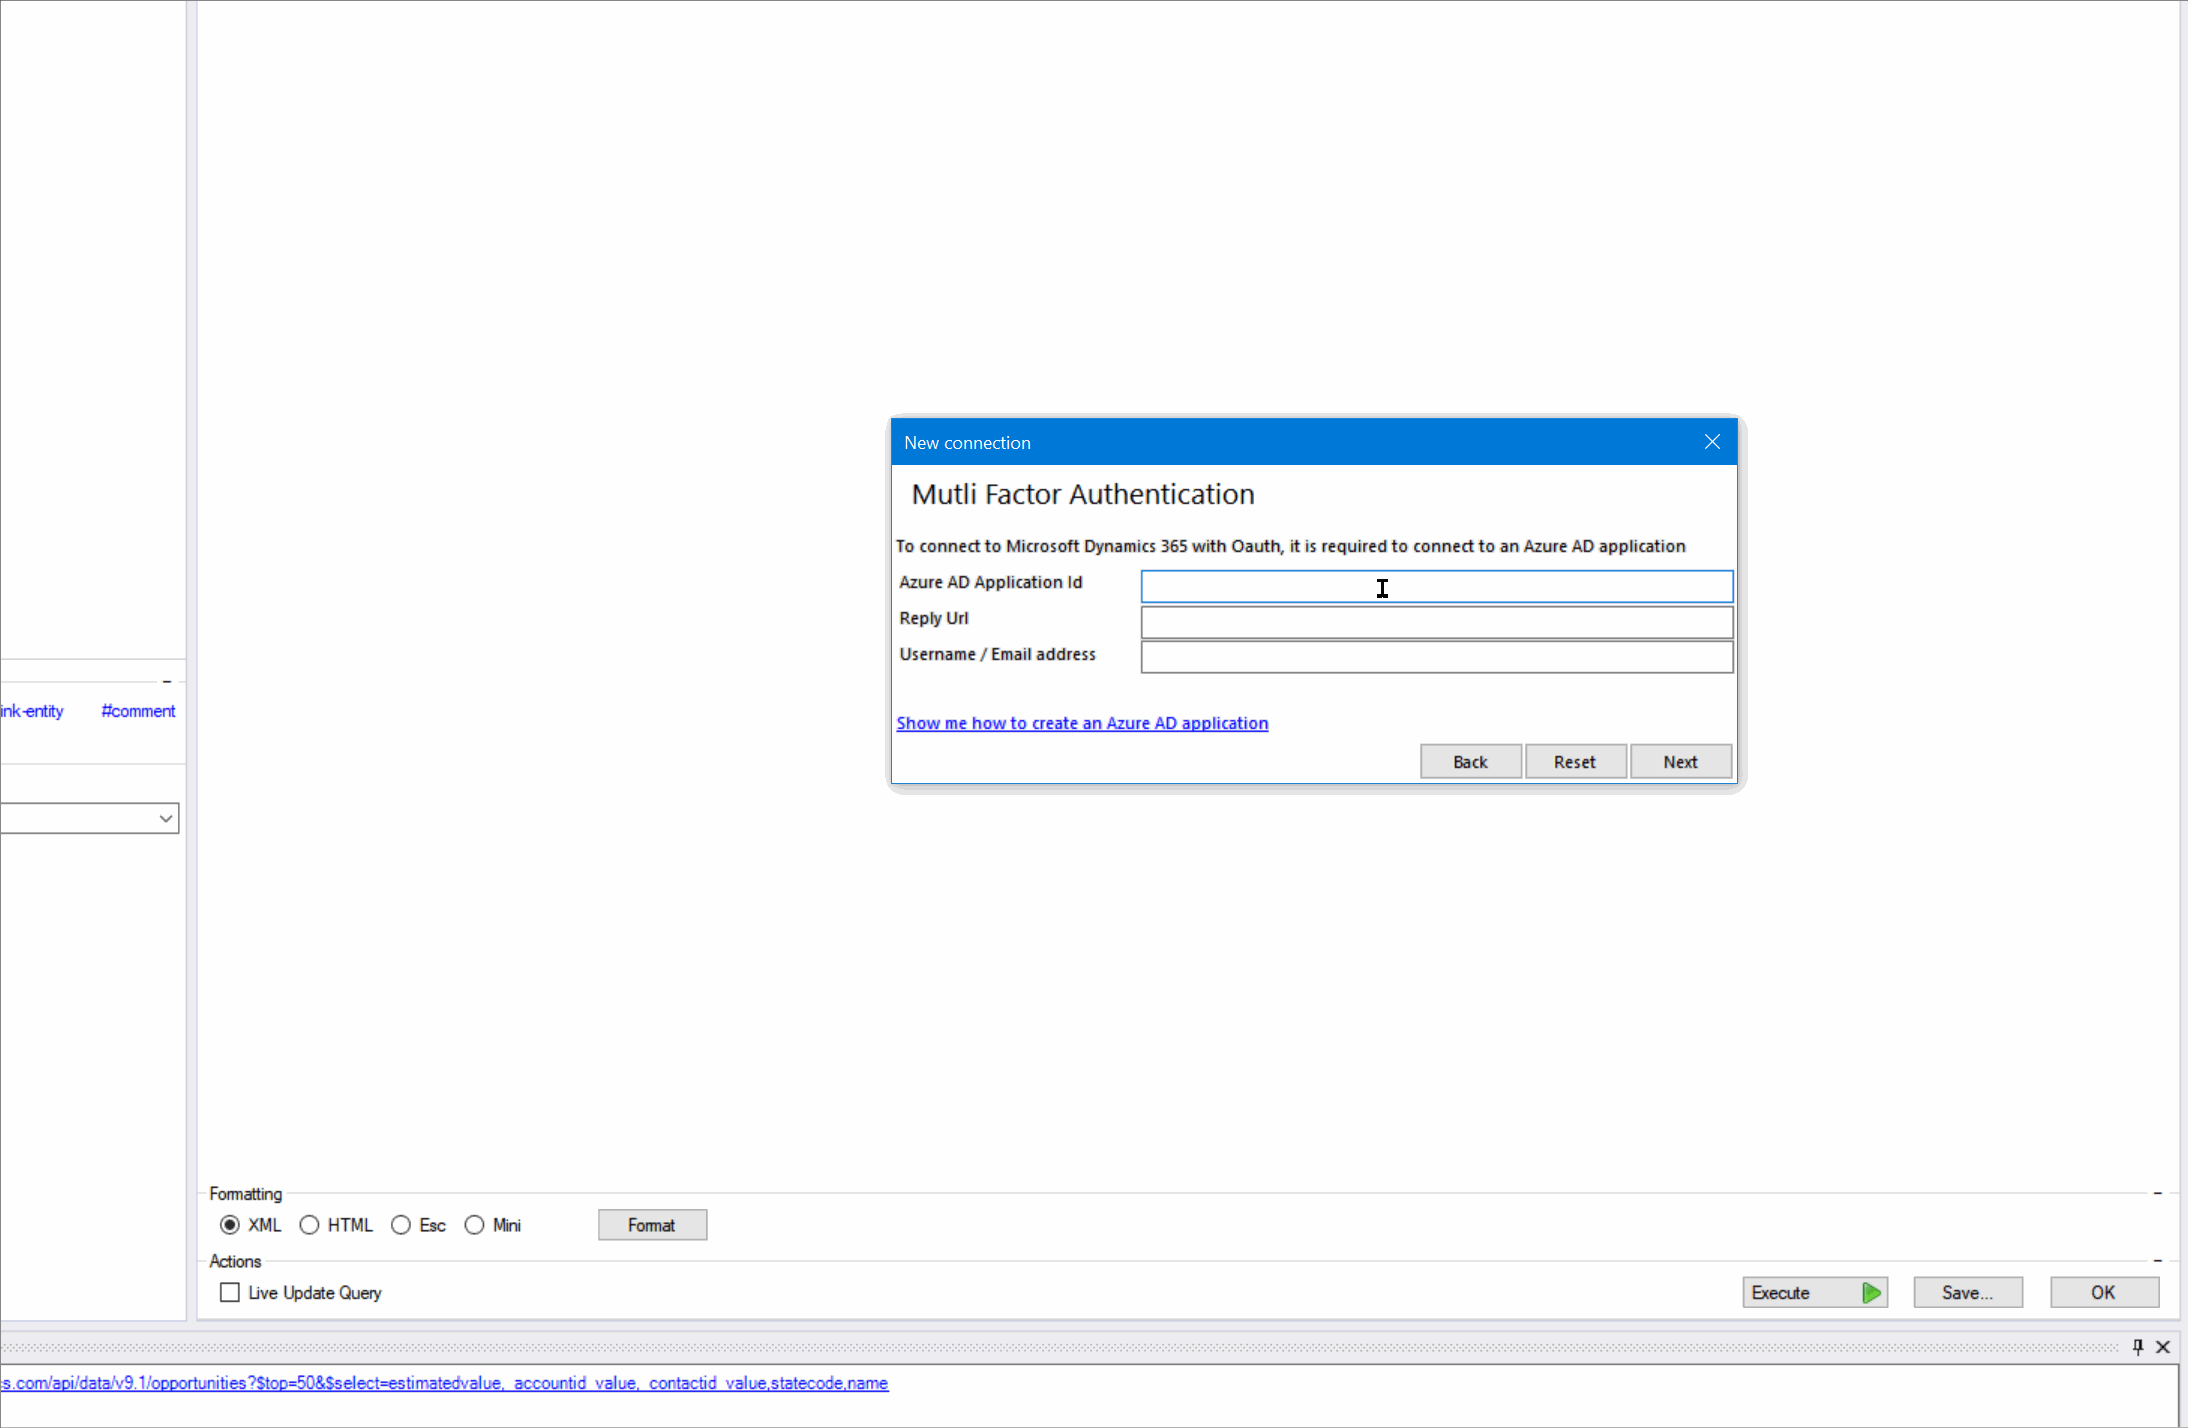
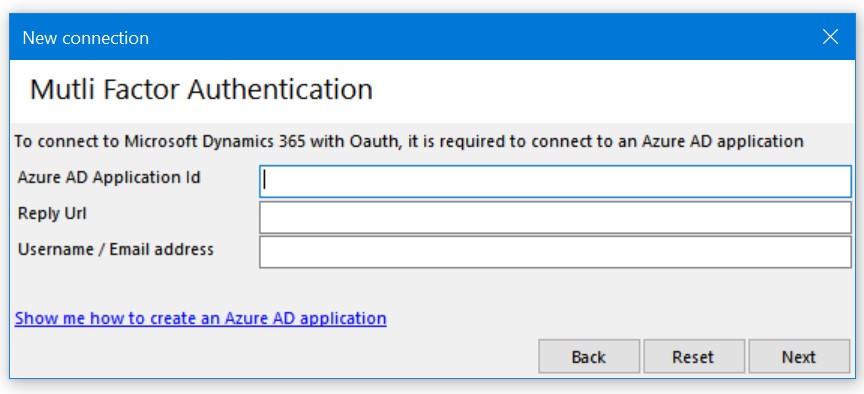
For the first step, we’ll just walk through the new connection dialog until we get to the point where we have no idea what to do next. Don’t worry, it’s actually pretty easy.

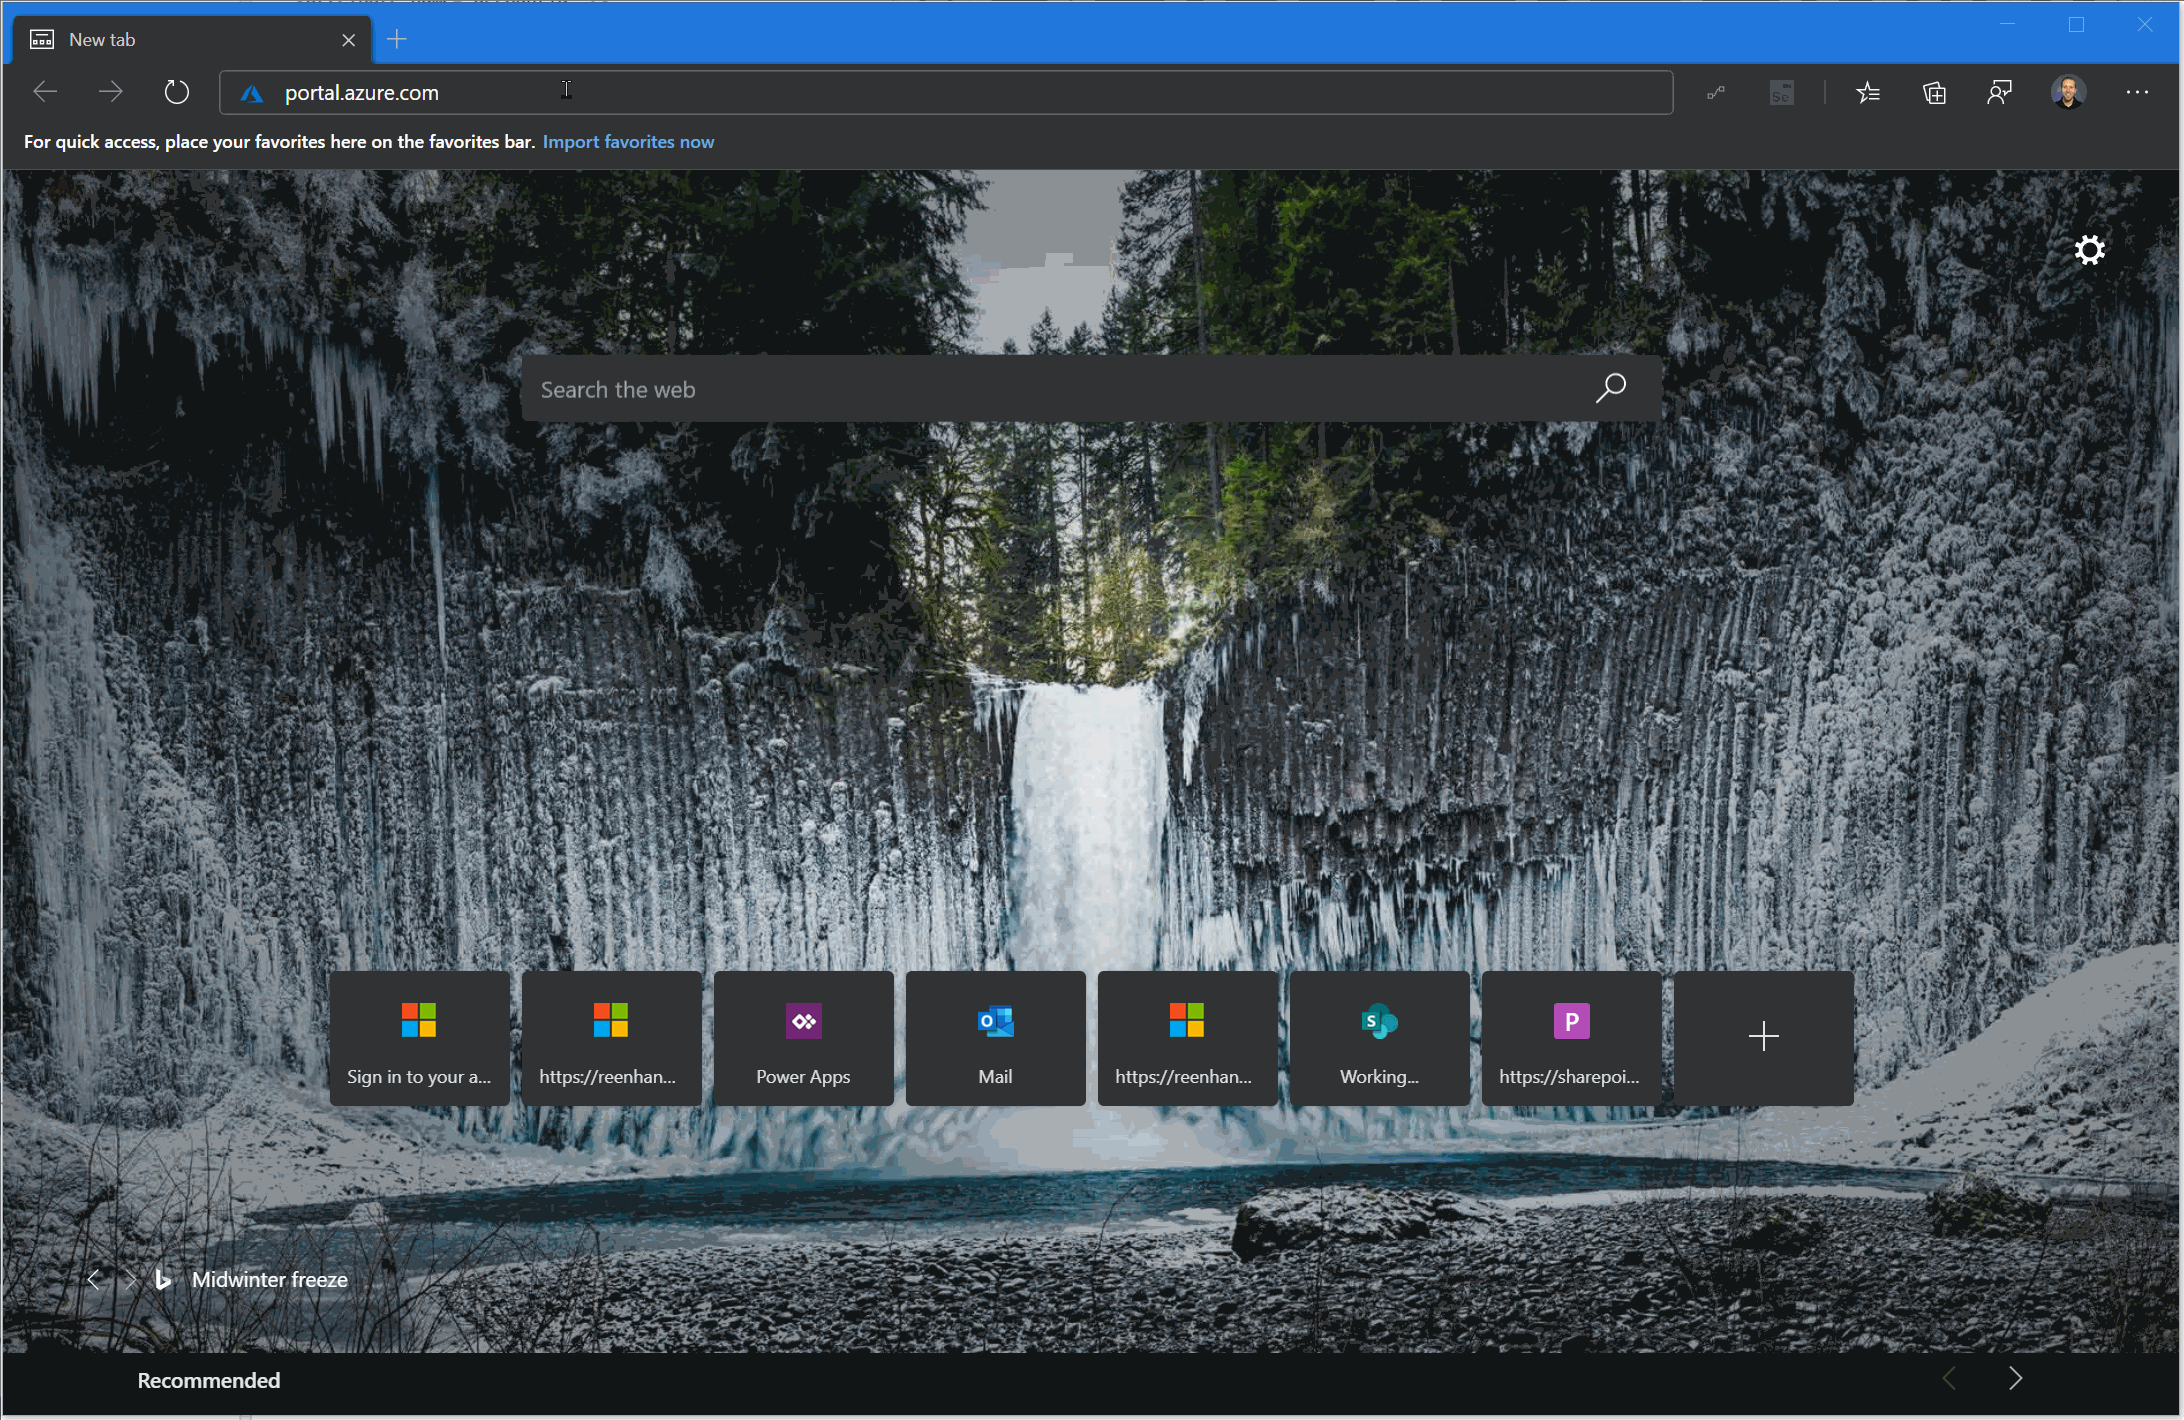
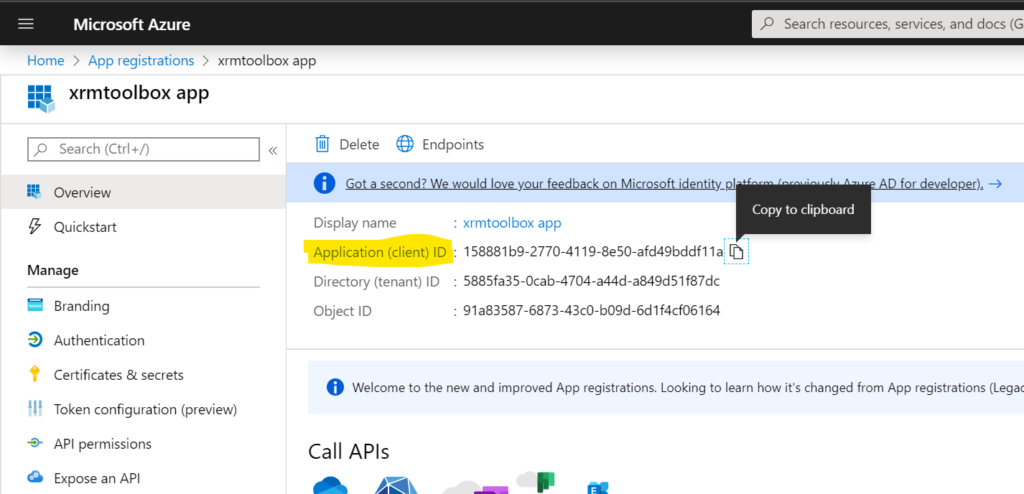
The next step to connect is to visit the Azure portal and create an app registration. If you are managing multiple organizations, you will need to do this using an account with Azure permissions for the organization you will be connecting to. (Send them a link to this page if necessary.)
Visit portal.azure.com (opens in new tab) and follow along:
In a later step, we’re going to need the Application (client) ID that was created when you finished this step. Once you have this, you can copy and paste it into your Xrm ToolBox connection window.
This step helps make sure that both the client and server have the same information. When connections of this type are used in a web application, this Reply URL provides an additional layer of security for the underlying authentication mechanism. (But you don’t need to worry about that here.)
Once you’ve generated the Reply Url you can copy and paste it into your XrmToolBox connection window.

In order for XrmToolBox to be able to access the Dynamics 365 APIs, you need to allow this API permission through your app registration. In doing this, system administrators can remotely revoke access in the future, which provides additional security.
If you are managing multiple administrators who need access to XrmToolbox it’s a good idea to create an app registration for each individual so you can easily reset their connection if a laptop is lost or stolen without impacting other administrators.
There is nothing to copy and paste from this section. You now have everything you need to connect.
If for any reason these steps don’t work for you, I promise I am friendly and will respond to your email. Reach out with questions, I am always happy to help: 📧 [email protected]