Setting up the Input Mask UI Control in Dynamics 365
Dynamics 365 On Premise and Online customers have a plethora of UI controls available to them. We have blogged before about some of our favorite UI controls, but we wanted to take some time to walk through how to configure the Input Mask UI control on a field in Dynamics 365.
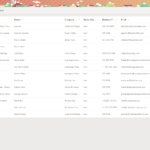
The input mask control is an extremely useful way to guide your users to enter the correct data in a field. Let’s take a look at what this control looks like when it has been applied to the field. In the below image, Business Phone has the Input Mask control applied, while Mobile Phone does not.

You can use this control on any text field on a form. An excellent use case is illustrated above – formatting a phone number. But, you can use this for any single line of text field where you need to input a specific format to ensure streamlined data input and formatting. In prior iterations of Microsoft CRM, this sort of requirement needed JavaScript applied to a form. Today, it’s a simple configuration using this powerful UI control!
Great question! Today (August 13, 2020), the Input Mask must be configured using the Classic Solution Designer. If you’re using Dynamics 365 Online, you’ll need to toggle back to the Classic Solution Designer to apply this control (for now – PowerApps keeps changing and offering more UI controls. I’m sure in the future this one will be available there). All of your field controls will be applied to the Form.
Here’s how to apply the Input Mask Control:
1. From the Classic Solution Designer, open your Entity.
2. Open the Form on the Entity.
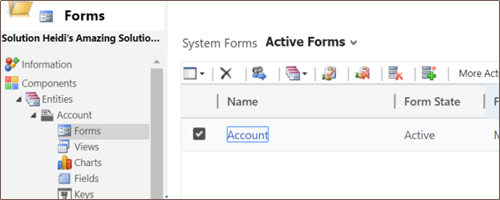
3. From the Form designer, open the field you want to apply a custom control on (in this example, we will use Main Phone on the Account).
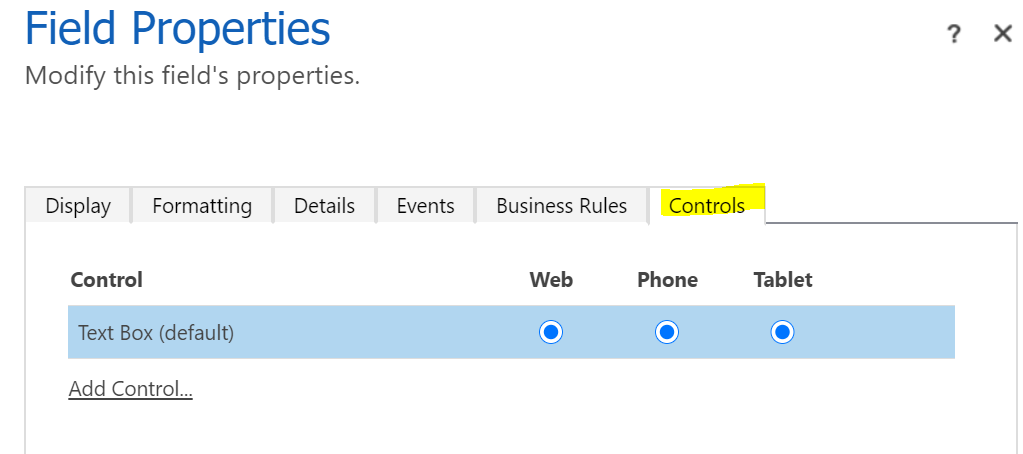
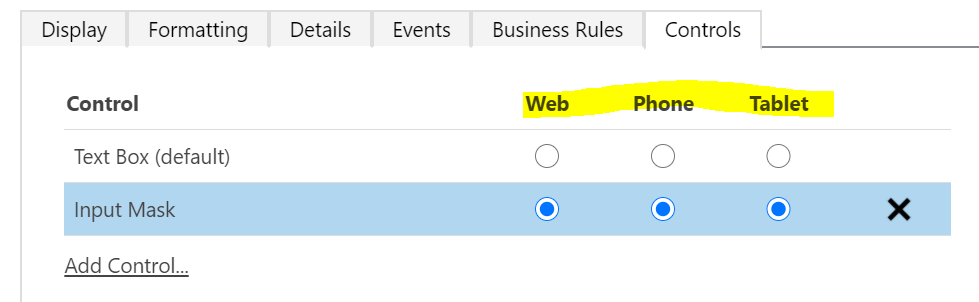
4. Click the Controls tab.
5. Click Add Control… and select Input Mask from the list that appears in a popup window, then click Add.
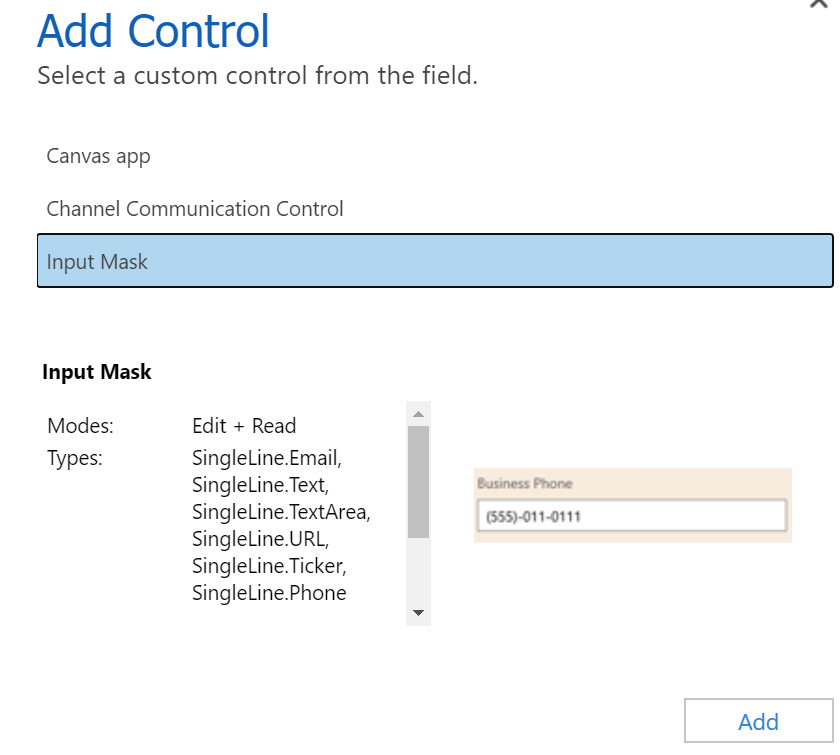
6. Set your Scope by selecting Web, Phone and/or Tablet from where you’d like this control to appear.
7. In the Property box, click the pencil icon to define the mask.
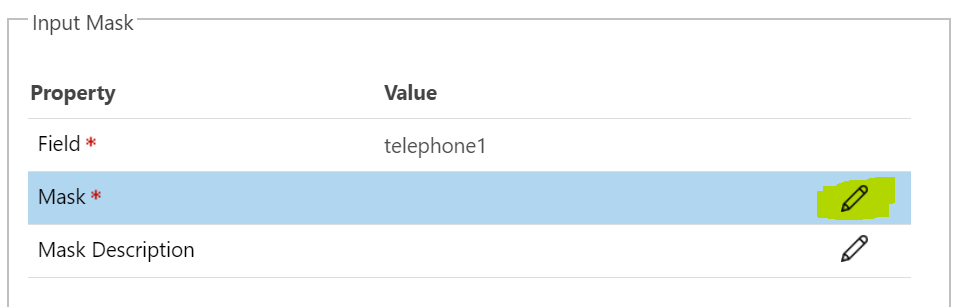
8. In the new window that opens, you will configure the Mask property. Select the option to Bind to a static value then enter your mask using the characters in the yellow box above. In our example, we want to format our phone number like this: (000)000-0000. Click OK.

9. Back on the Field Properties box, click OK.
10. This takes you back to the Form editor. Save your changes then Publish.
Now it’s time to test and verify! Let’s head over to an Account in Dynamics 365 and see what our Main Phone field looks like:
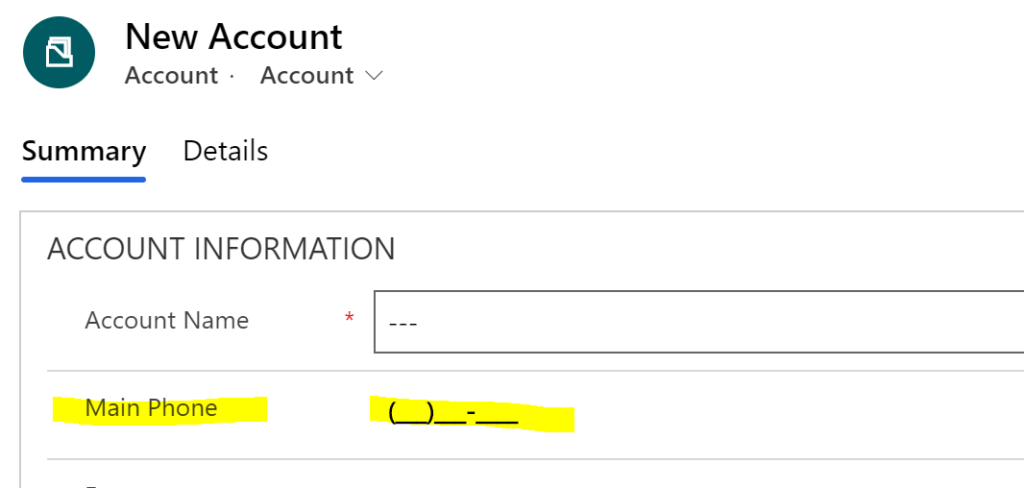
Success! Our Main Phone is now formatted, helping to show my users what data should be entered AND ensuring some data integrity in my system.
I hope this helps you with configuring the Input Mask control on a field in Dynamics 365. If you try this out and need some help, feel free to reach out to me. You can fill out our Contact Form with details about what you’re working on, or email me directly at [email protected].