Model-driven app: Setting Configurations
When building a model-driven apps in the Maker Portal of Power Apps, there are several setting configurations you can set. This blog will review where to access settings and which options are configurable.
Where can I access my app settings?
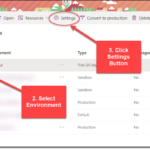
In your solution file, navigate to the app where you need to access setting configurations. Open the app designer.
Once you’re in the app designer, you can click the Settings icon at the top.
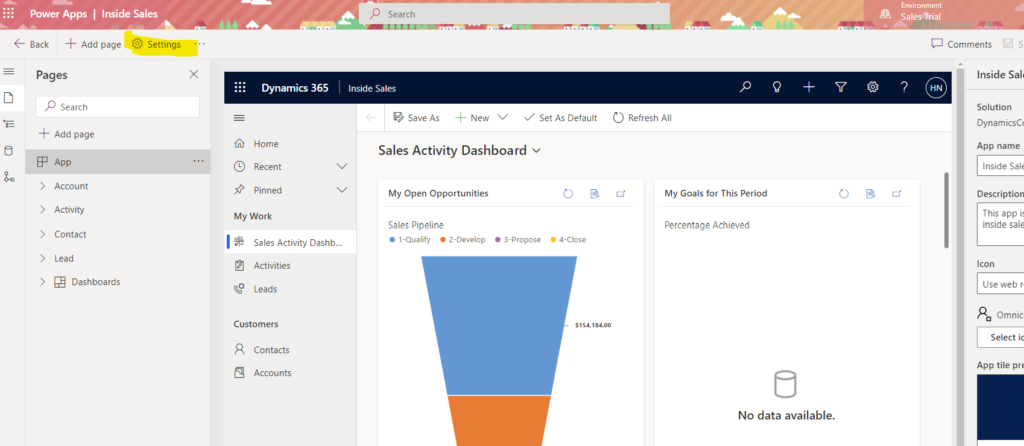
A new window will open showing three areas: General, Features and Upcoming.
General Settings
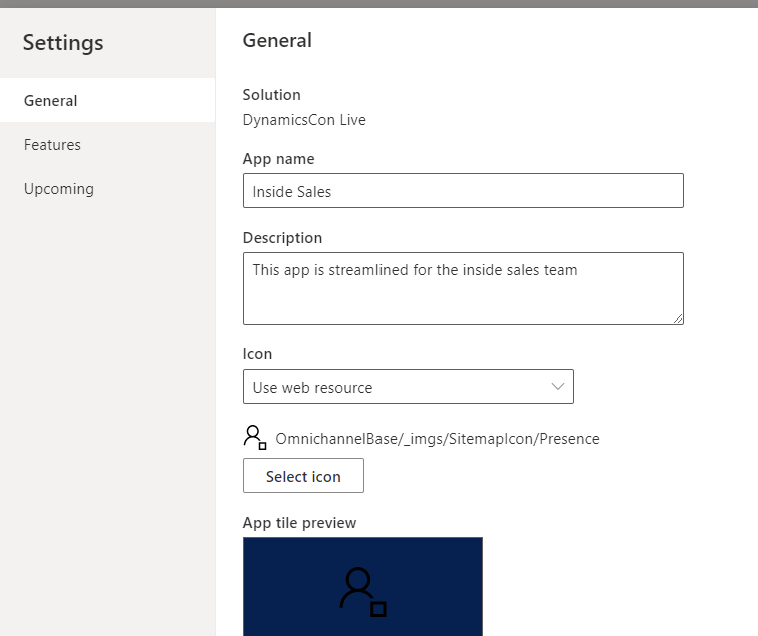
In the General Setting area, you can update:
- App name
- App description
- Icon
- Advanced Settings: Welcome page & primary mobile player (Power Apps mobile, Dynamics 365 Sales or Field Service (Dynamics 365)
Features
This is where you can find most of the setting configurations for your model-driven app. These features are updated, and more may become available as time passes.
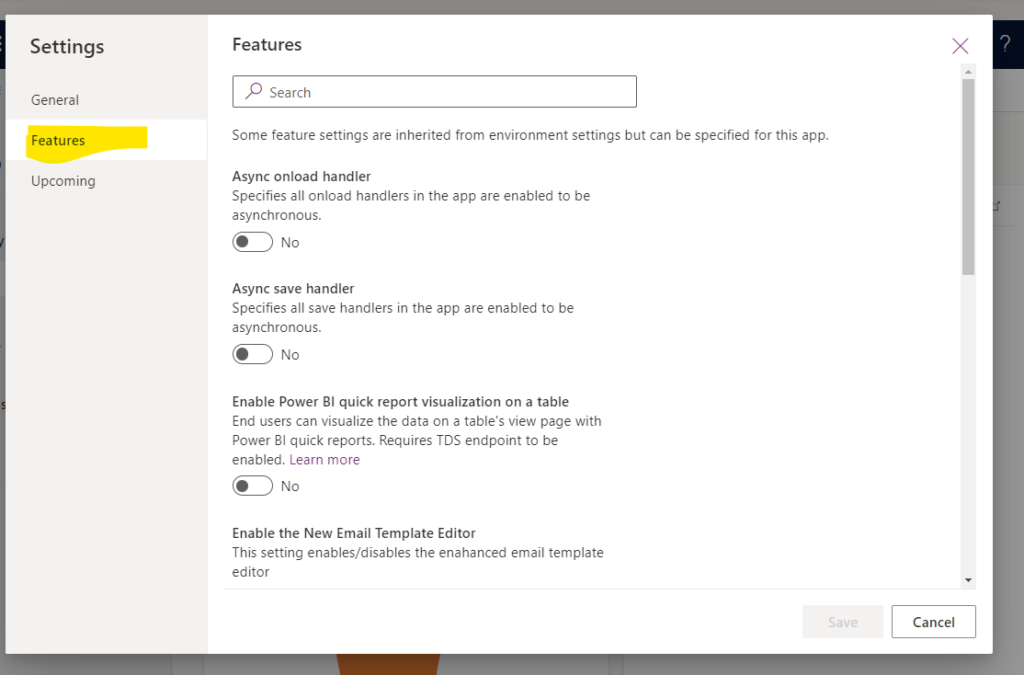
Let’s walk through each of these and what they do:
- Async onload handler: Specifies all onload handlers in the app are enabled to be asynchronous (JavaScript runs in the background when the page loads).
- Async save handler: Specifies all save handlers in the app are enabled to be asynchronous (JavaScript runs in the background when the form is saved).
- Enable Power BI quick report visualization on a table (preview): End users can visualize the data on a table’s view page with Power BI quick reports. Requires TDS endpoint to be enabled.
- Enable the New Email Template Editor: This setting enables/disables the enhanced email template editor.
- In-app notifications: Enables the app to poll for new in-app notifications and display those notifications as a toast or within the notification center.
- Native Mobile Date Time: Enables mobile app native device controls when interacting with Date and Time values on a form. (Only for Field Service mobile player.)
- Native Mobile Inputs: Enables mobile keyboard per input type on mobile clients. (Only for Field Service mobile player.)
- Offline setup from the app designer: Easily configure your app for offline from this app designer.
- Tablet Optimization for Command Bar: For tablet: Replaces the native command bar at the bottom with the web command bar at the top.
Upcoming
Keep an eye on this area of your app settings – it’s likely to change as new setting configurations are rolled out. This space is used to display any extra content about early access features. Today, there is one option here: Choose the offline mode to apply to your app. It is turned on by default, meaning your app is in offline-first mode. This may read a bit confusing, so let’s clarify the user experience with some documentation from Microsoft.
Essentially, this setting is asking if you want “Offline-first” which shows the same data, regardless of network connection:
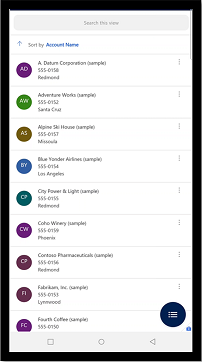
In this user experience, there is no toggle for users to switch between offline to online. The app will sync changes back to the server automatically.
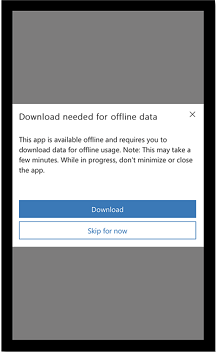
In contrast, the “Classic Offline” experience requires a download for offline data and requires the user to disable Work in offline mode to synch changes with the server.
I’m not quite sure why you would select Classic Offline over the Offline-first feature now available, but it’s here if you want it!