Add Color on Option Set & Calendar Control in Dynamics 365
If you’re looking for a way to take your Dynamics 365 calendar control to the next level, you might want to look at adding color as a differentiator. (We’re featuring this blog that originally appeared on crmheidi.com.)
Here’s a simple update to spice up your option sets: add color! In our example, we will be applying color on an option set for Appointment Type, but you can follow these steps for any option set field in your system. For now, you’ll need to use the Classic Solution Designer if you’re an Online Customer to apply color.
Apply Color on Option Set Values
1. Open the Option Set (from the Classic Solution Designer).
2. Within your Option set, click on one Option. Update the value in the Color field (highlighted below).
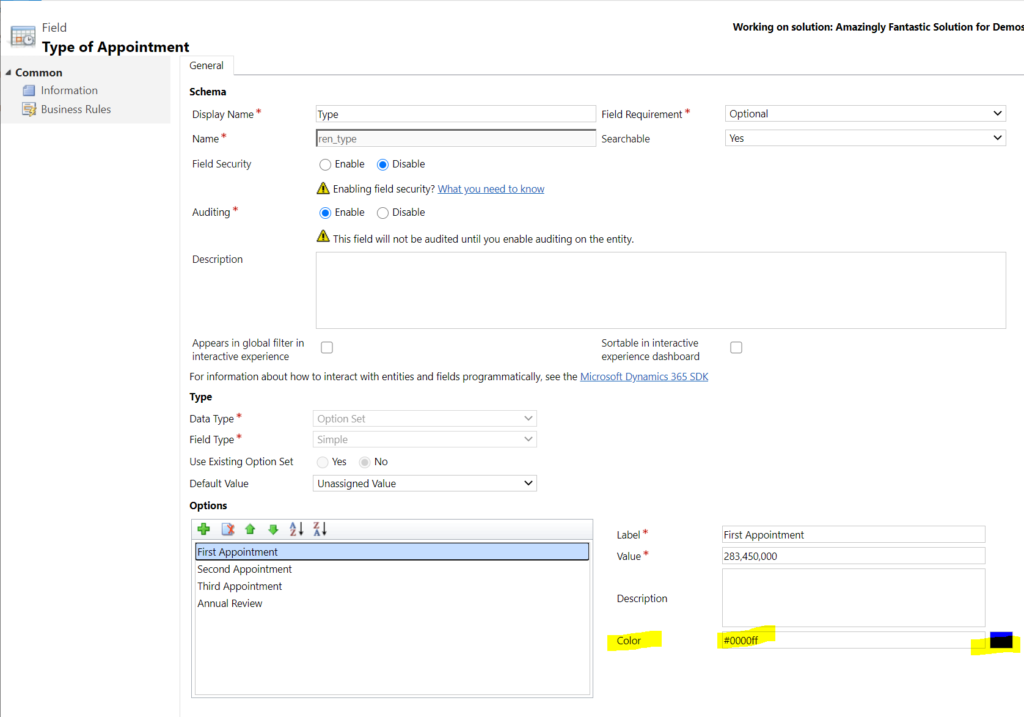
3. Repeat for all values until each has a unique Color.
Choosing Your Color: Hex Code
| Color | Hex Code |
|---|---|
| Red | #FF0000 |
| Orange | #FF5733 |
| Yellow | #FFFF00 |
| Green | #00FF00 |
| Blue | #0000FFF |
| Purple | #800080 |
| Fuchsia | #FF00FF |
| Gray | #808080 |
| White | #808080 |
| Black | #000000 |
| Silver | #C0C0C0 |
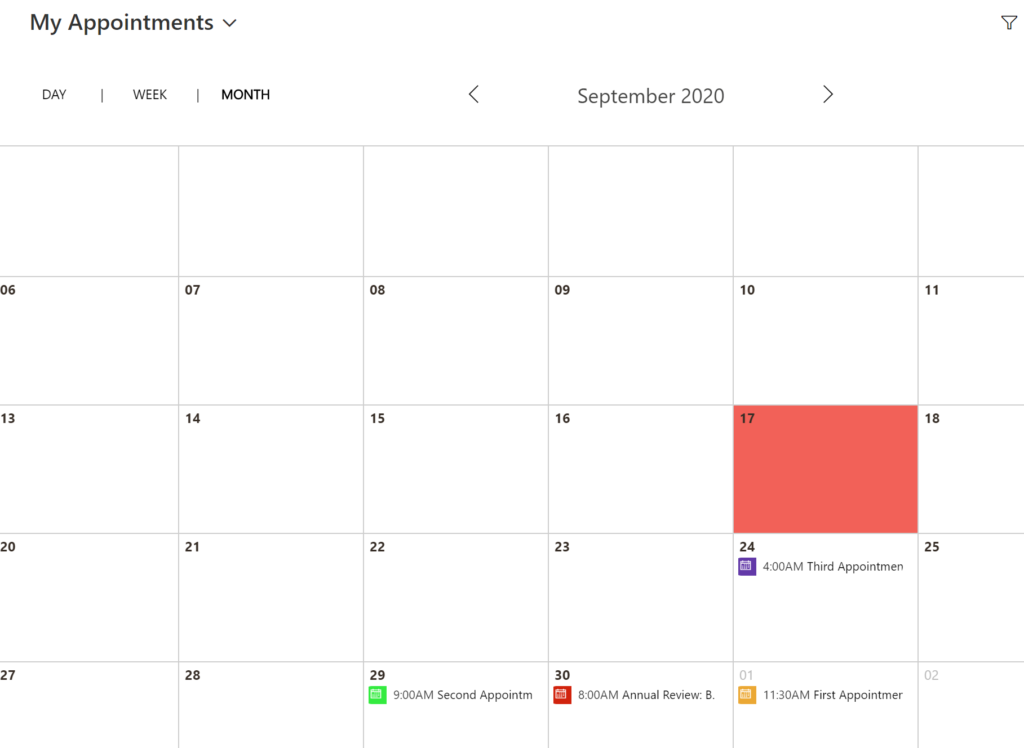
Adding colors to your Calendar Control can help your users easily distinguish between different types!
Configuring the Calendar Control & Include Color
To add a Calendar Control to my view, I’m going to open the Classic Solution Explorer, expand Entities, expand Activities and select the View:

In my classic view designer, click the Custom Controls button (highlighted below):

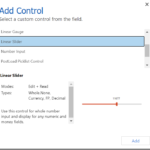
Click Add Control…

Select Calendar Control then click the Add button:

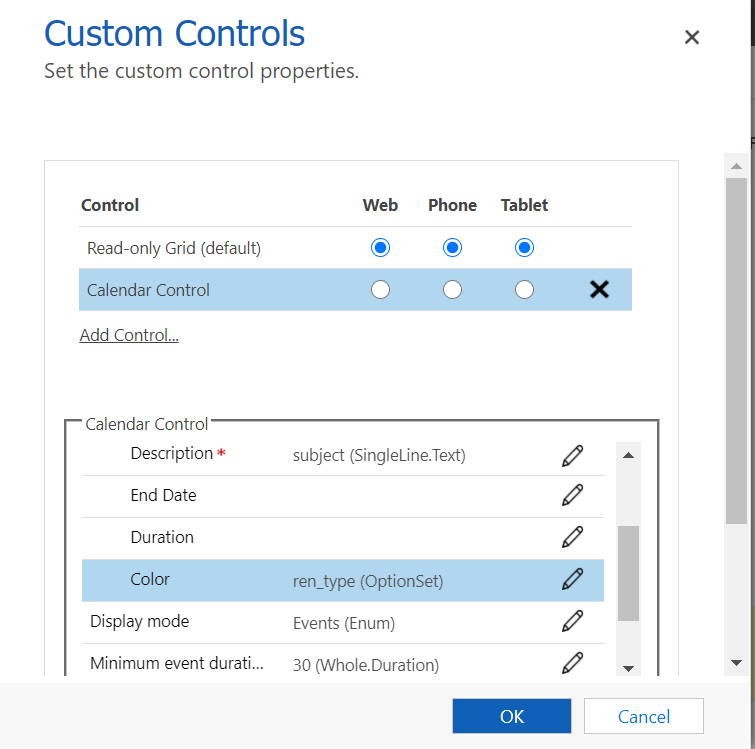
Back at the Custom Controls box for this view, we have to define where this control should run. In this example, I want to use it regardless of access type. Below, I have to set Start Date & Description on my control. This is how the system knows when to display which Activity on which date and the text that appears on my calendar. Here, I have set Start Date to be my Scheduled Start and Description is my Subject field. When you have finished, click OK.

Here’s where the color comes into play!
Click the arrow next to Color to map to our color option set details we configured above.
Next, select Bind to a value on a field and select the option set.
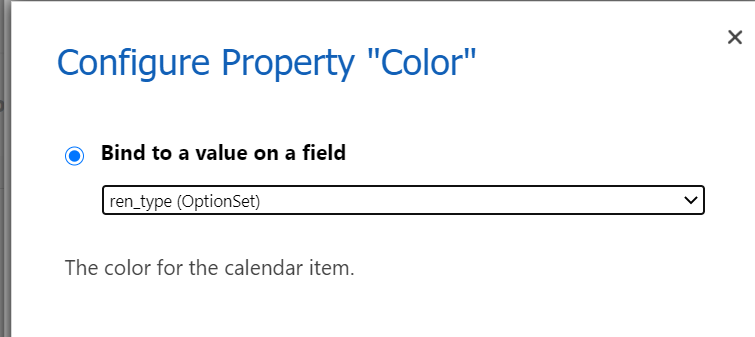
Finally, save & publish all of your changes and watch the magic happen!!
Need Help?
If you need any assistance configuring color on an option set and/or applying the calendar control, feel free to get in touch. You can fill out this Contact Form with details about what you’re working on, or email me directly at [email protected].