Applying the Calendar Control V2 to Dynamics 365
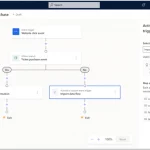
In June 2020, Microsoft launched the Calendar Control V2 for the Unified Interface. This replaces the original Calendar Control, which has been deprecated. This control is an excellent aid in user adoption. This view or entity/table level control is AMAZING. Why?? It transforms a grid to a visual calendar! How awesome is that? Before we dive into the steps required to implement the V2 control, let’s take a quick visual tour on what this control looks like to end users. Here is a Calendar Control V2 applied on a view:

How to Implement Calendar Control V2
The calendar control, and all other controls that are available in the unified interface, can all be defined at the Web, Phone and Tablet levels, allowing you to tailor user experience based on the device used. Definitions of the clients are fairly straight-forward, but let’s briefly review what each of these options means to you as the system administrator/customizer:
- Web: selecting the Web client for a control means users will see this control when they access Dynamics 365 from any web browser.
- Phone: Make the control available on any mobile device running Dynamics 365 for Phones.
- Tablet: Make the control available on any tablet device running Dynamics 365 for Tablets.
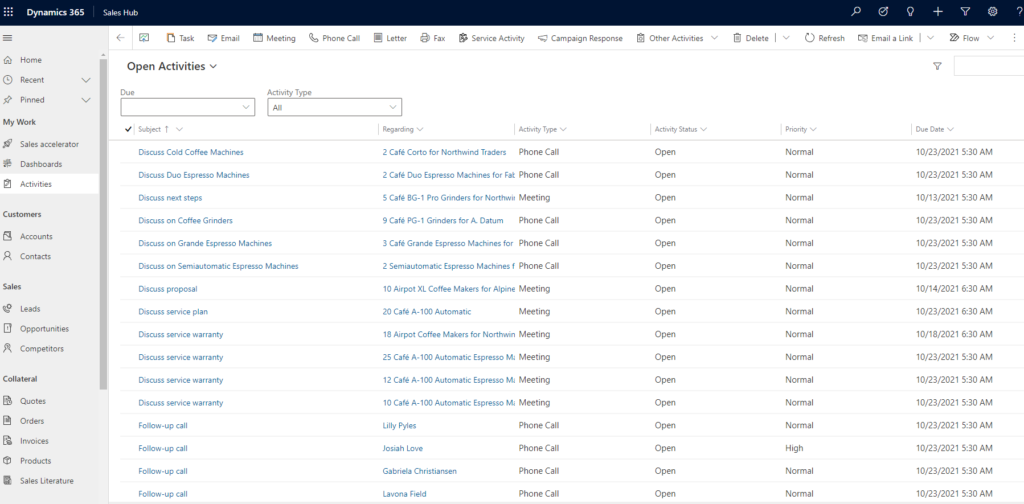
An ideal place to start implementing this view is in Activities, but it can be used on any date field. Let’s walk through an example to show you how to add a calendar control to the Open Activities system view.
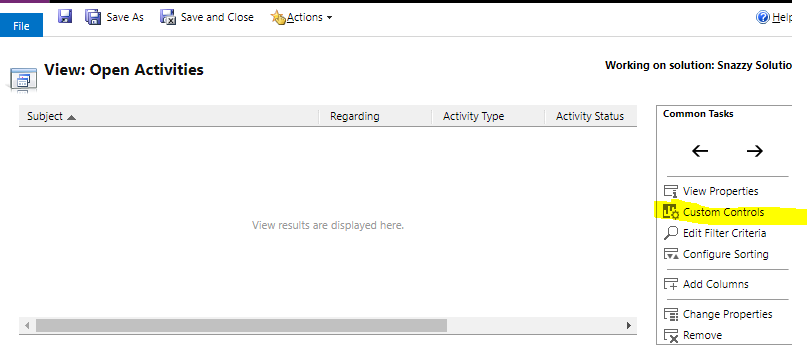
Here is what the view currently looks like in my Dynamics 365 environment. We will use the Calendar Control V2 to make this list display as a calendar view.
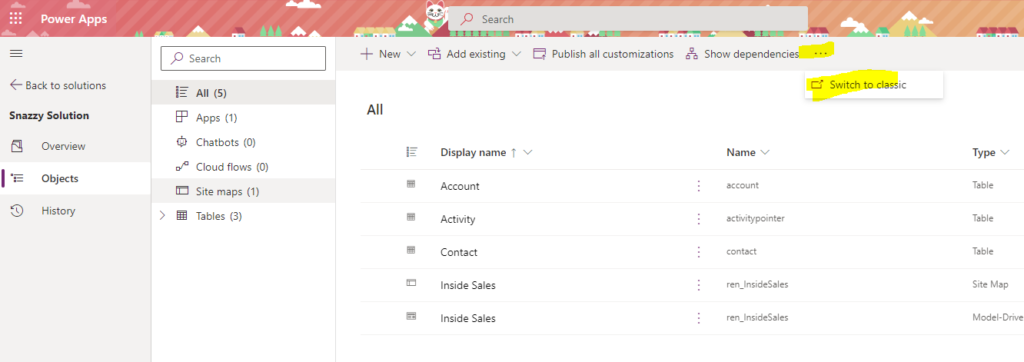
If you are a Dynamics 365 Online customer, you will start at the Maker Portal. From your solution file, you’ll have to start out with the good ole Switch to Classic.
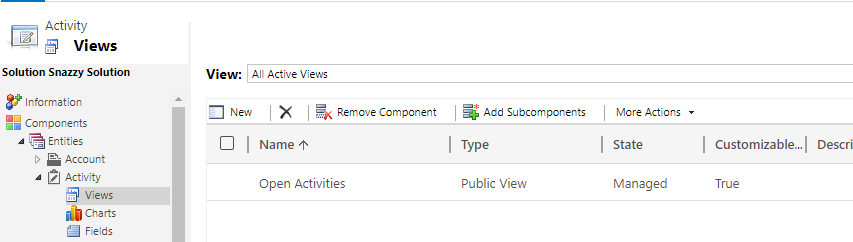
To add a Calendar Control to my view, I’m going to open the Solution Explorer, expand Entities, expand Activities and select the View:
In my classic view designer, click the Custom Controls button (highlighted below):
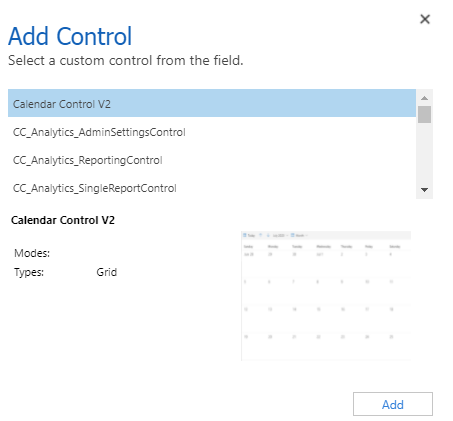
In the new window that pops open, Click Add Control…

Select Calendar Control V2 then click the Add button:
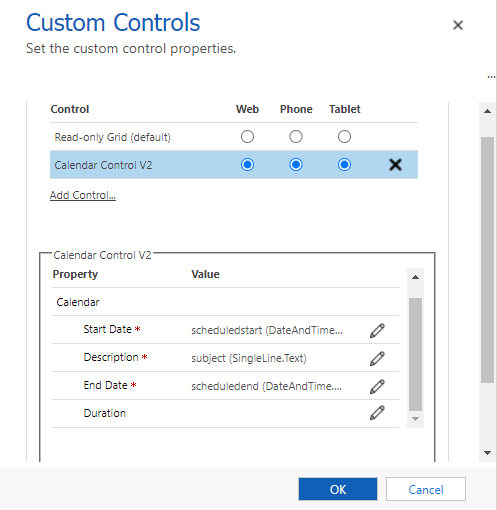
Back at the Custom Controls box for this view, we have to define where this control should run. In this example, I want to use it regardless of access type, so I select Calendar Control V2 for Web, Phone and Tablet.
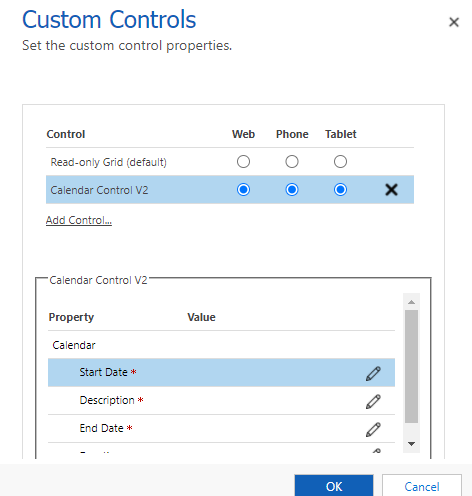
Bellow the Control scope, I need to configure additional details:
- Start Date: Configure which date field should map to this. Whatever you select will be the date this Activity shows up on the calendar.
- End Date: Configure which date field should map to this.
- Description: This will be the topic on your calendar.
Duration is also listed here, but is not required and can be mapped as you see fit.
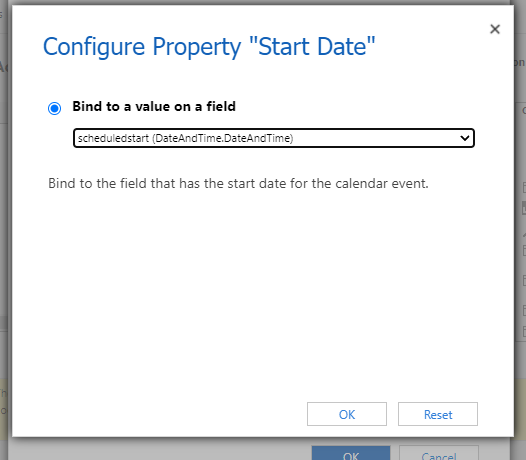
To configure each data point, click on the pencil icon next to the label. We will walk through Start Date here:
1. A new window pops up, labeled Configure Property “Start Date.” Click the blank drop-down field after the text “Bind to a value on a field.” Select the field you want to map this to.
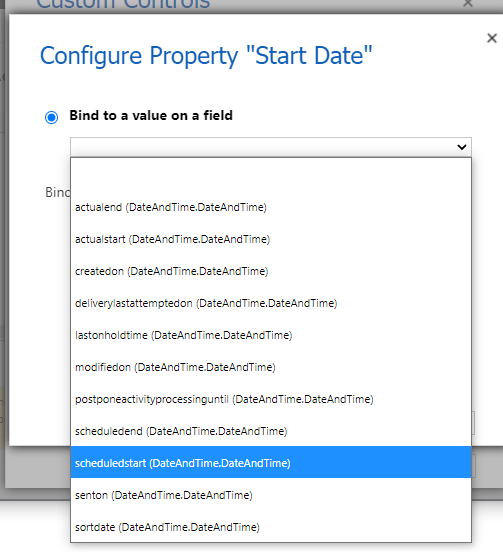
2. Click OK. Repeat with additional required fields.
Below, I have set Start Date, End Date & Description on my control. This is how the system knows when to display which Activity, on which date and the text that appears on my calendar. Here, I have set Start Date to be my Scheduled Start, End Date as my Scheduled End and Description is my Subject field. When you have finished, click OK.
Now, all that’s left is for you to publish changes and get your testing on! If all looks good with it, and you’ve had some users test as well, move it over to production and bring joy to your users!
Here’s a Microsoft article that gives you more details if you want more help.
This all looks AWESOME! Can I map color to my option sets here, like I could with the original Calendar Control?
No. I’m sorry. I wish we could. Sadly, you cannot configure color mapping with V2 like you could with the original. There is an Idea listed to be up-voted: https://powerusers.microsoft.com/t5/Power-Apps-Ideas/Ability-to-customize-the-Calendar-Control-v2/idi-p/727541. I highly recommend giving this one a thumbs up if that would help your organization out!