Building an instant cloud flow for Dynamics 365 in Power Automate
Do you have repetitive tasks that should be manually triggered by a user? If so, building an instant cloud flow could be an excellent option. Here, we walk you through how get started with building an instant cloud flow in Power Automate for Dynamics 365 using the Dataverse connector. This blog originally appeared at www.crmheidi.com.
An instant cloud flow is triggered with the click of a button. Users can kick off an instant cloud flow on their mobile device or via their desktop. These are great automations to use when you have repetitive tasks. Good use cases include: requesting approval, creating tasks or actions in Teams or SharePoint, automating document creation and more.
If you’re coming from Dynamics 365 CE / CRM, an instant cloud is used like any on-demand workflow. Just like in the former, anytime you had a user manually trigger a workflow, you can create an instant cloud flow for the same task.
On-demand classic workflows still have their place! I am not suggesting that you re-write your existing on-demand workflows. But if you have a use case where you want a user to manually trigger an automation, this is a really neat thing to explore. You’ll be able to extend the reach too – with Power Automate the options are well beyond the standard confines of traditional CRM.
Getting Started at make.powerapps.com
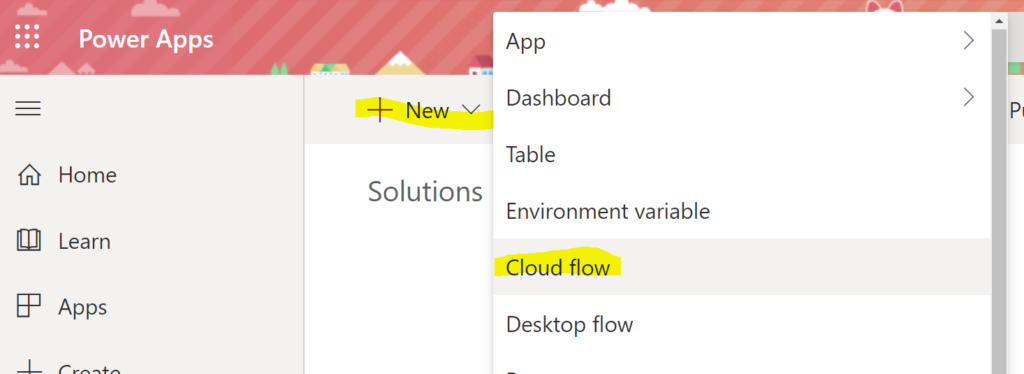
- In Power Apps, open a solution file (or add a new one).
- At the top, click +New and select Cloud flow to add a new Cloud Flow to your solution.
Instant Cloud Flow Trigger: Dataverse (Legacy)
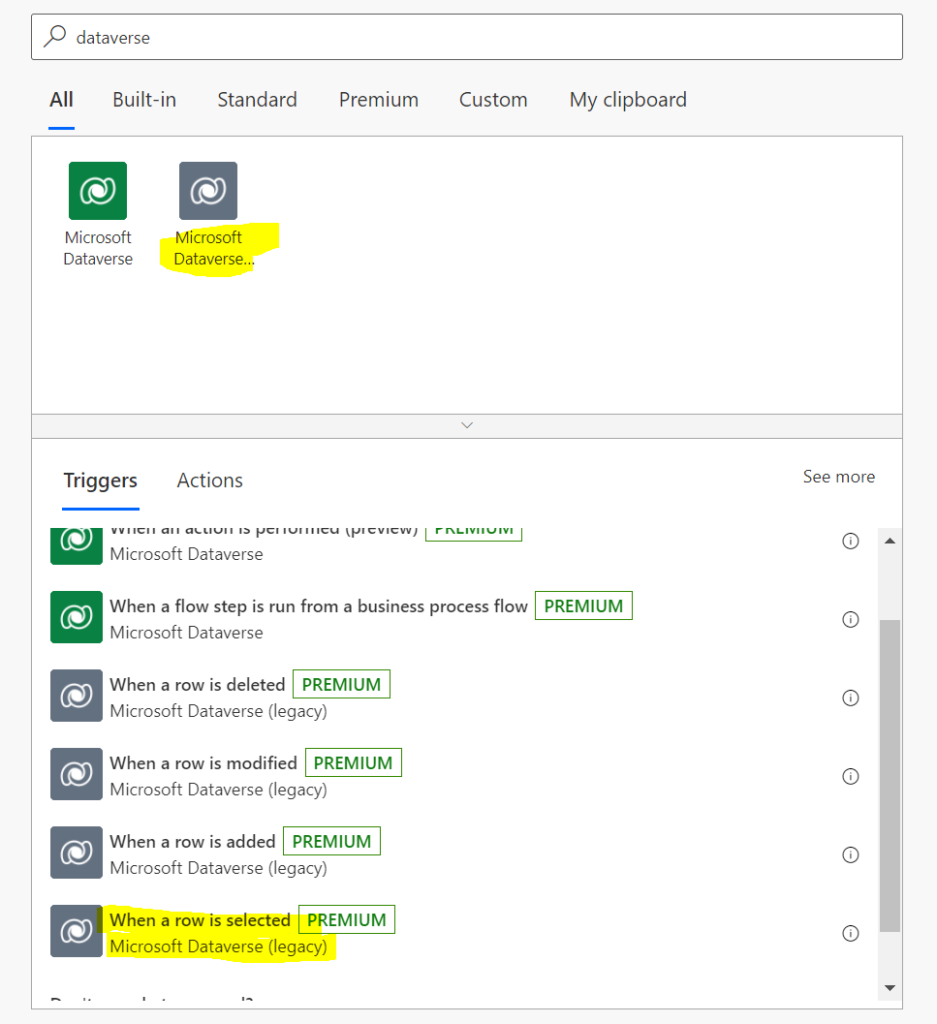
Very Important Note: Currently, the trigger you need to add this to Dynamics 365 is in the Dataverse (Legacy) connector and is NOT in the Dataverse connector. We expect this to change and this blog will be updated when it is.
May 12, 2021 – Still true as of Feb. 15, 2022.
In your new Cloud flow, search for Dataverse and a list of triggers will appear below. To run it on-demand (like we used to using classic on-demand workflows), select the When a row is selected trigger, highlighted below.
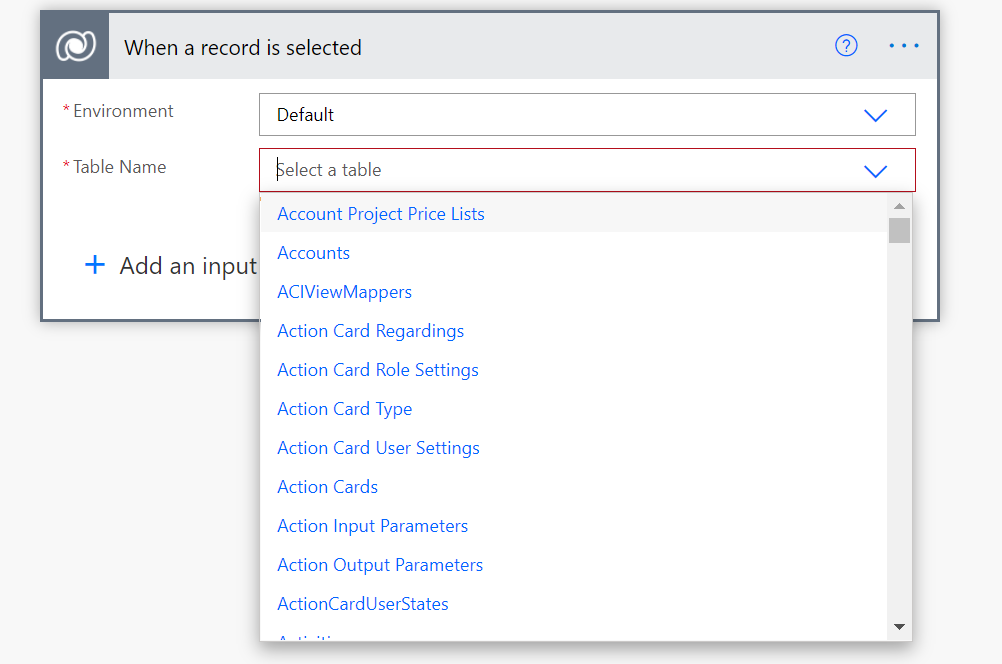
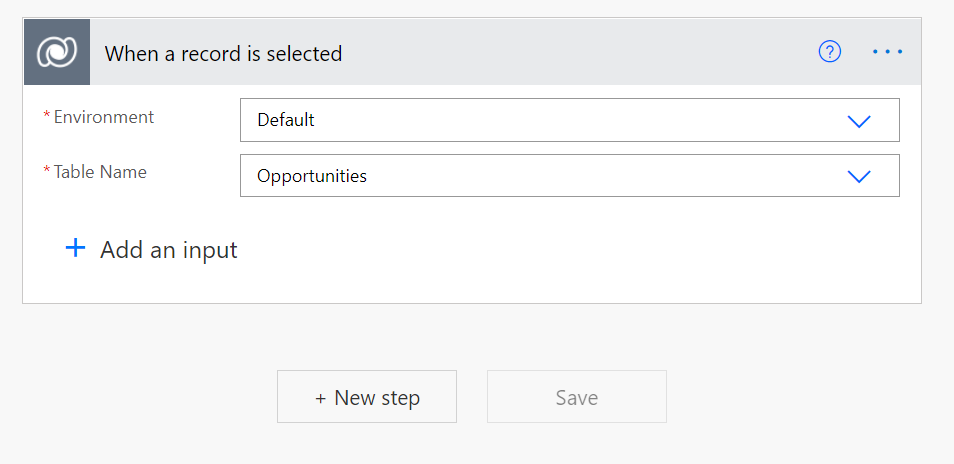
You may need to authenticate into the Dataverse connector if this is your first time using this. Afterwards, you will need to select the environment and table (entity) for the flow:
Click New Step to add your next step:
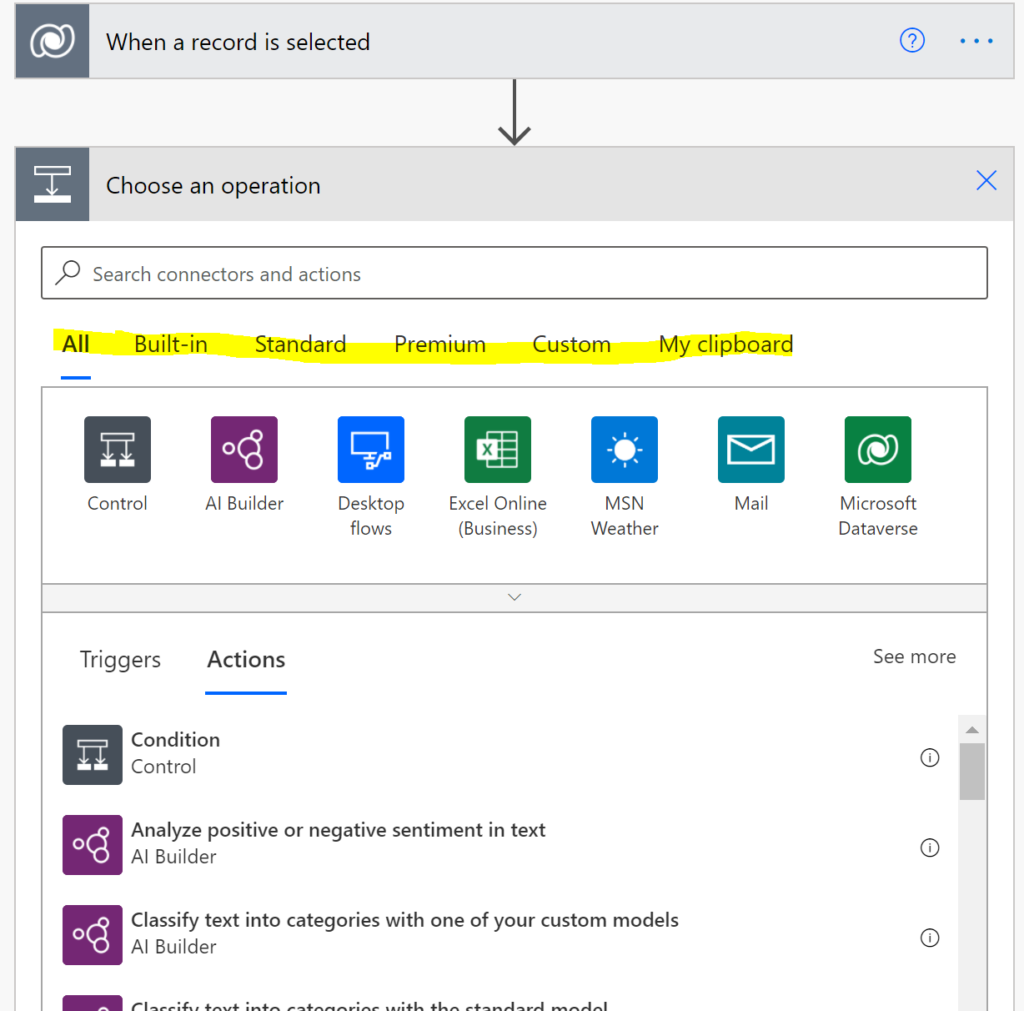
Now, you have come to the Choose an operation box. This is where you build out your flow; add conditional branches (using the Control trigger), actions and more. In this box, you will see some filters:
- All: shows all possible triggers and actions.
- Built-in: shows all built-in connectors (like Control, AI Builder, Date Time and more).
- Standard: Free connectors to use.
- Premium: Connectors that require additional licensing to use.
- Custom: Any custom connectors in your environment available to use.
At this point, you will add any and all actions using the Dataverse connector(s) and beyond!
Your Users: How to trigger an instant cloud flow in Dynamics 365
After you create the flow, your users will access it within their model-driven app of Dynamics 365. Here is where they can find it:
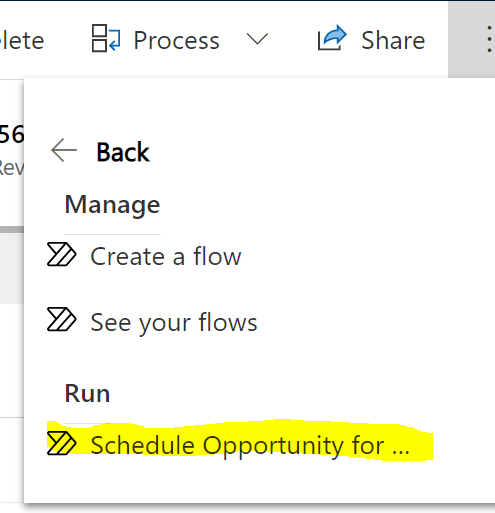
1. From the Opportunity (or whichever table you built your flow for), click the ellipses then select Flow.
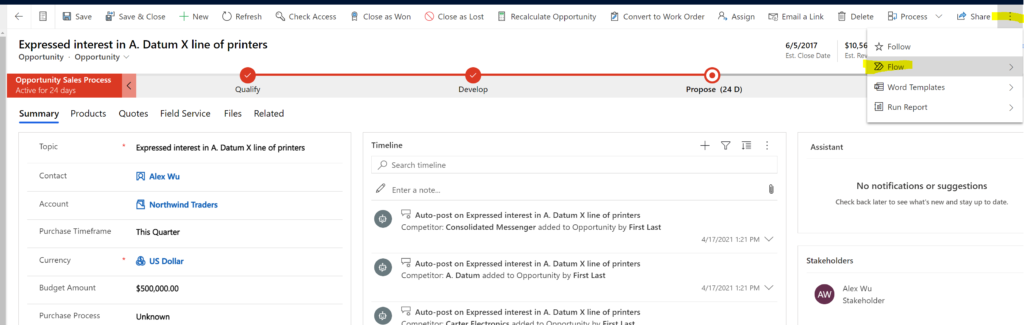
2. In the Flow menu, select the instant cloud flow you built in the prior steps:
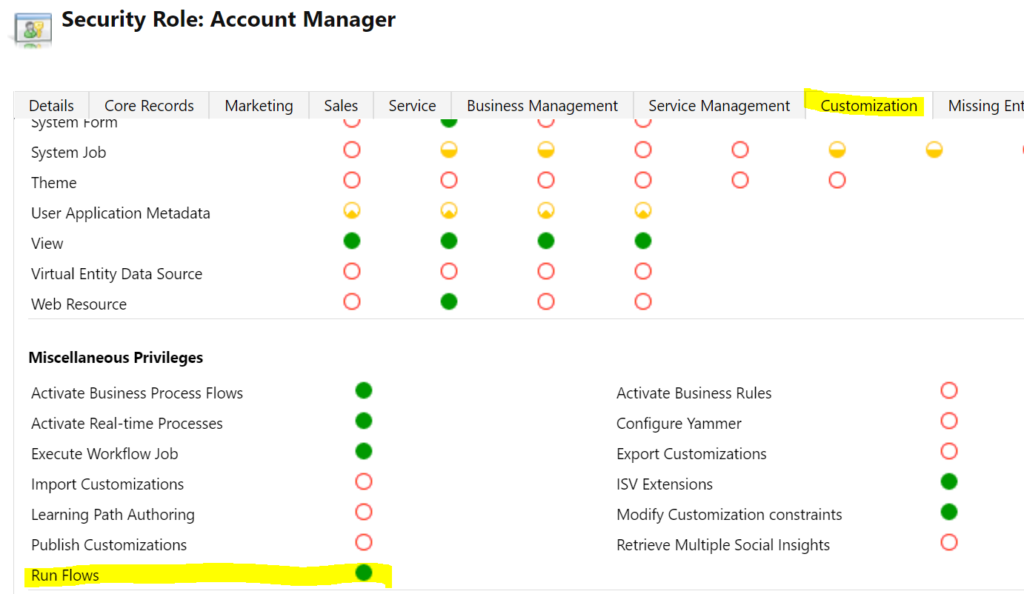
A Note About Dynamics 365 Security Roles
If you’re getting reports that tell you your instant cloud flow has failed, take a look at the security role(s) of your users in Dynamics 365. Ensure that Run Flows privileges is turned on. You can find this on the Customization tab under Miscellaneous Privileges.
The Complete Flow 101 Series at CRMHeidi
- An overview for the absolute beginner
- Building an automated cloud flow
- Creating an instant cloud flow
- Making a scheduled cloud flow
- Working with Power Automate templates