Download Dynamics 365 Reports as a PDF with Power Automate
Have you ever wanted to upload a Dynamics 365 Report to SharePoint? What about sending it via an email or embedding into Teams on demand? Watch the video or read and follow along in the article below to learn how you can use a Child Flow to get the PDF version of a Report you can use anywhere through Power Automate. The world is yours!
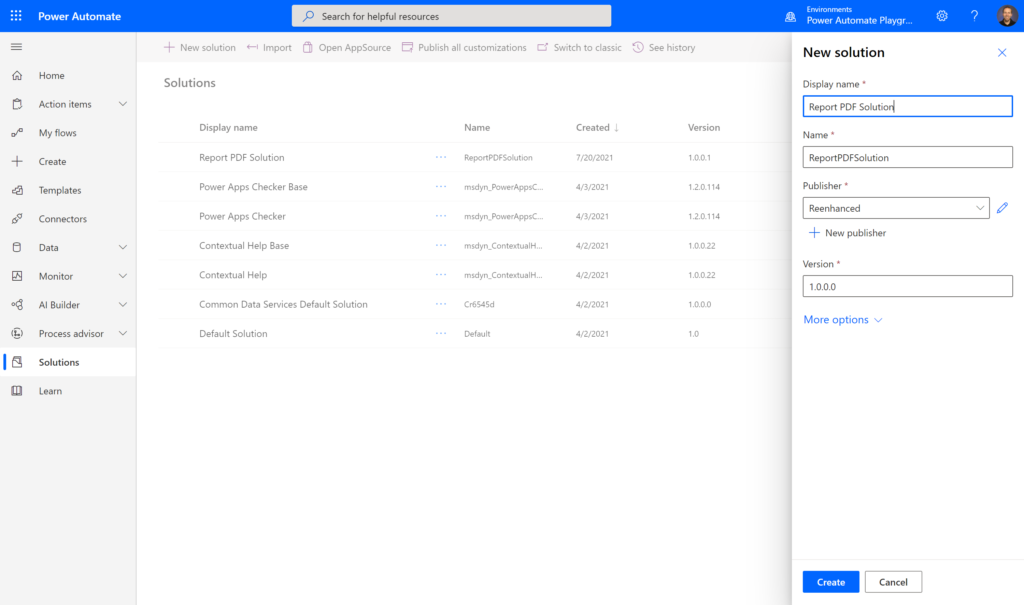
Step 1: Create a Solution
Child flows have special requirements, so we begin our tutorial with the creation of a solution. First, go to flow.microsoft.com and click on the solutions link from the left hand side navigation. Fill in the form and let’s keep moving. 💡 Pro-tip: All flows that use a child flow need to be in the same solution, so a good name for this is something like “Reporting Flows”
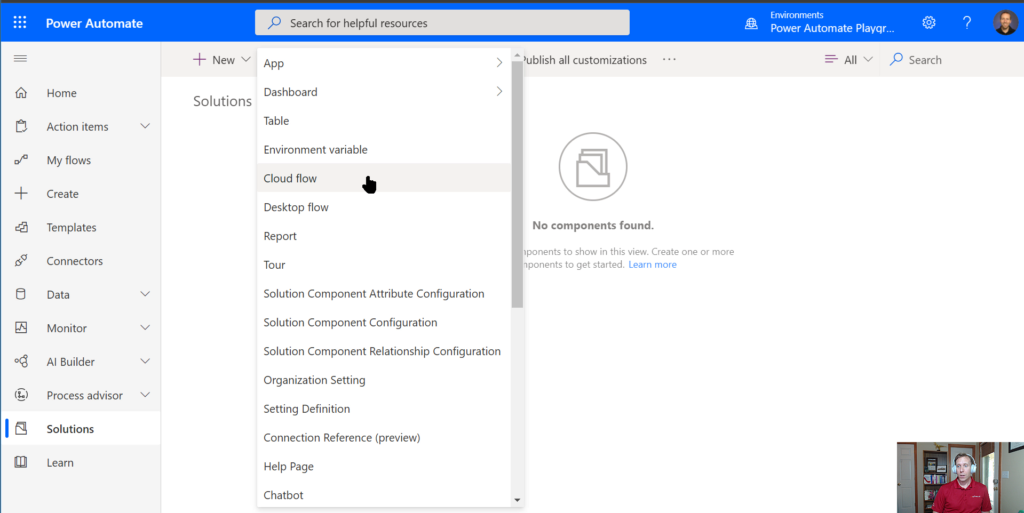
Step 2: Create a new flow
Add a cloud flow to your solution
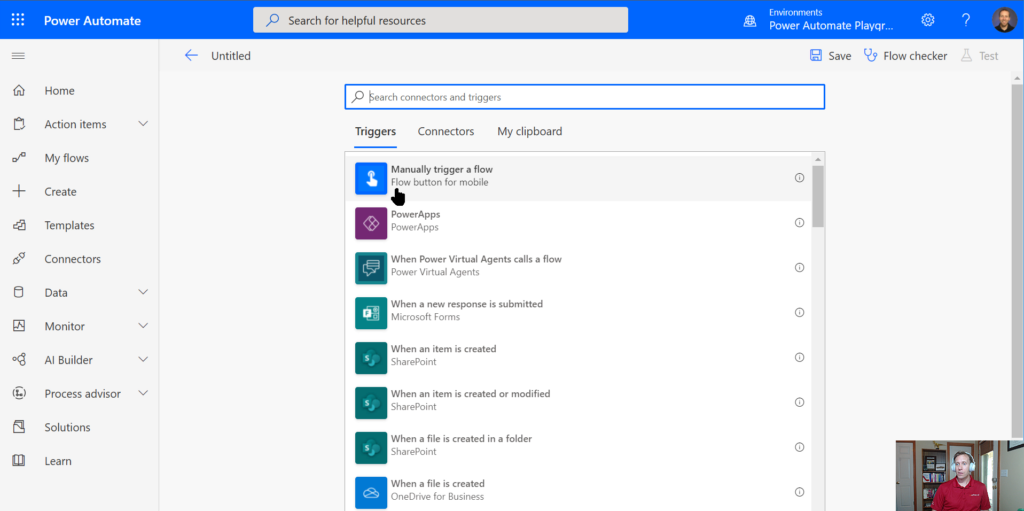
And then set the trigger to Manually trigger a flow
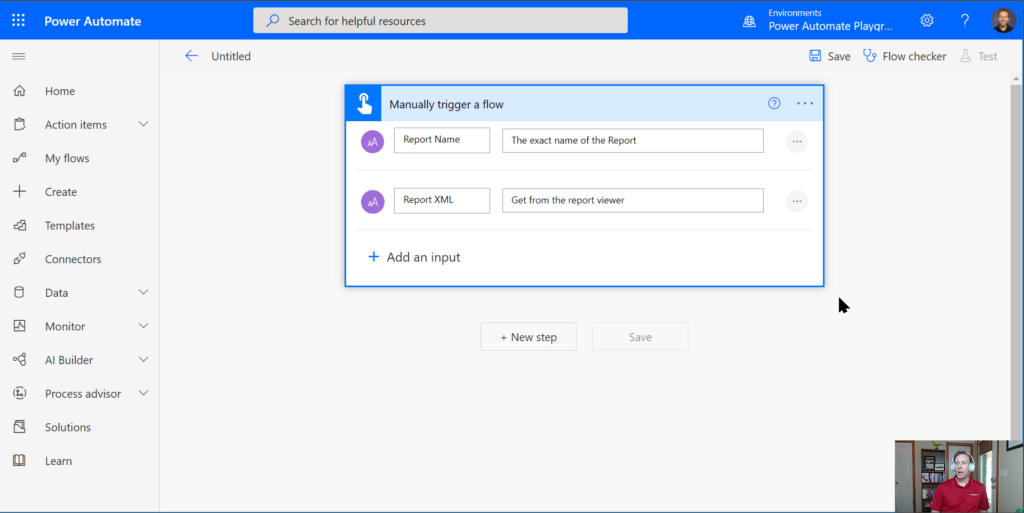
After you have your trigger, you need to add 2 inputs to it, Report Name and Report XML
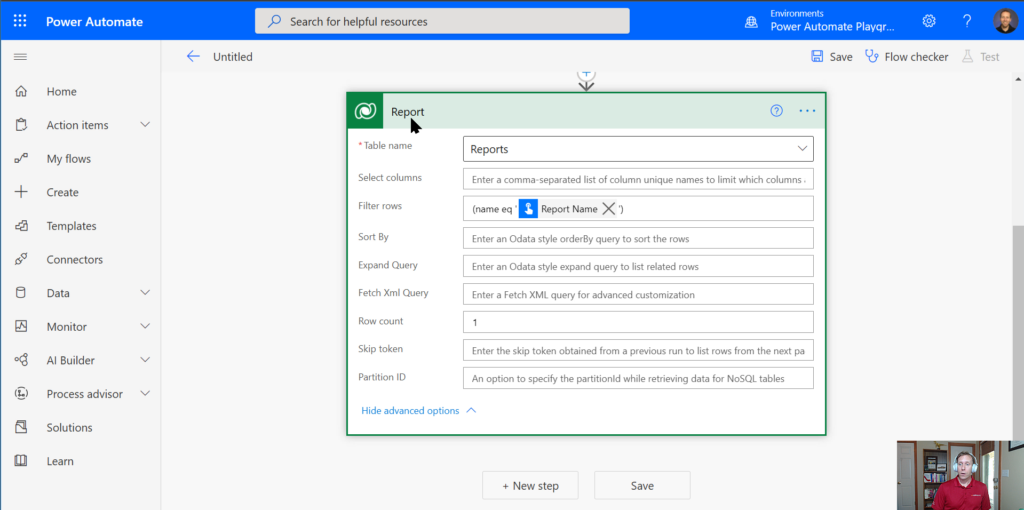
Then add a List Rows action from the Dataverse connector and configure it to lookup the report by the Report Name that you pass in during execution of your child flow.
This is now a valid flow! (Every flow needs at least one trigger and one action.) You can now smash the 💾 Save button in your flow and move on to the next step.
Step 3: Setup the Report Viewer
Our child flow works by doing everything that you would do inside of your web browser, but it’s stripped out to only the steps you need to take. One of the most critical steps is the Report Viewer page, that is, the page that shows you the report inside your web browser. This step does the work of creating the report and it’s the same page that shows you the report in your browser.
In other words, what this step is doing is creating the web-only version of your report. This has to happen before you can get the PDF version because the report needs to exist before it can exist as a PDF.
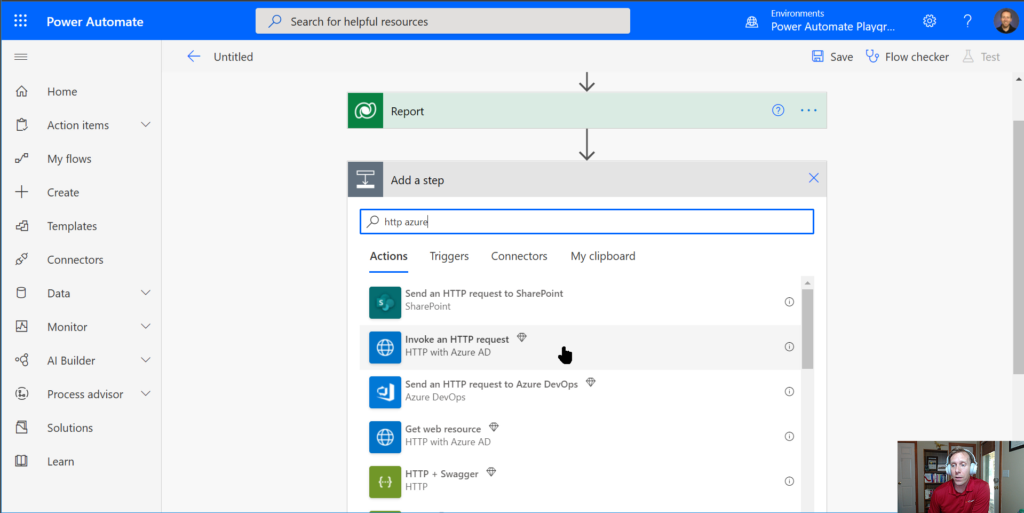
To make this step happen, we have to send a request like the browser. We do this using the HTTP with Azure AD connector, specifically the Invoke an HTTP request action.
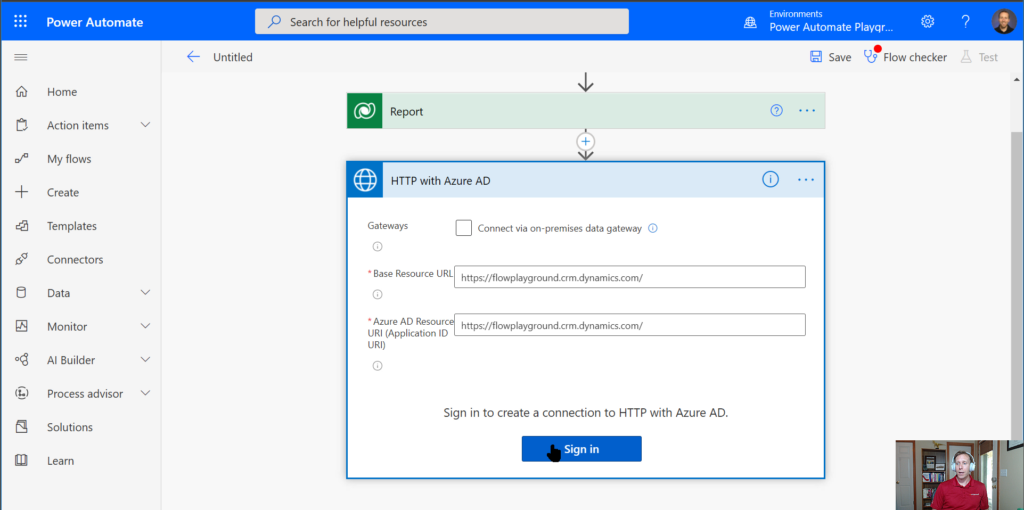
In order to use this action, we need to authorize our connection. If you’re using Dynamics 365 online, you do this by grabbing your CRM url (including https://) and pasting it in for both Base Resource URL and Azure AD Resource URI
Once you’ve authorized, you’ll be able to setup your request. Configure it like this:
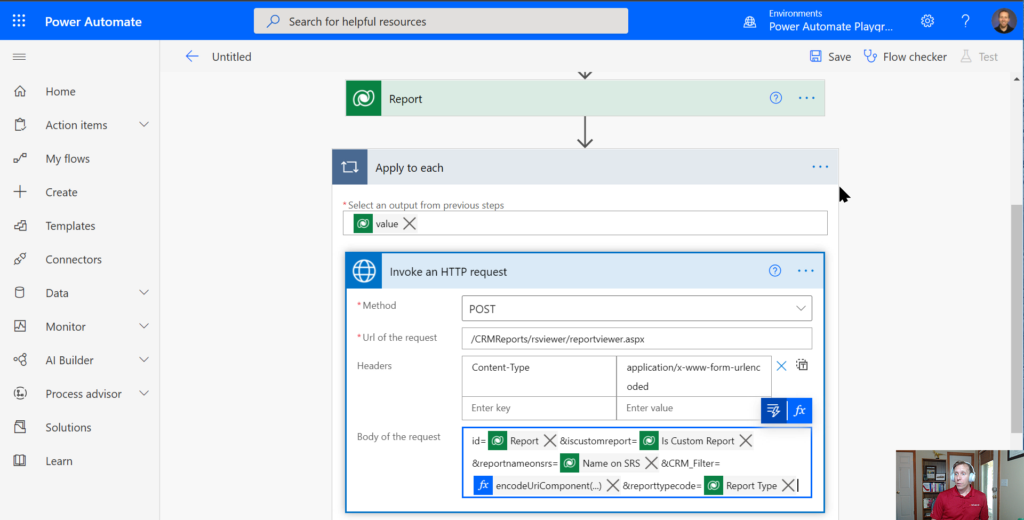
| Method | POST |
| Url of the request | /CRMReports/rsviewer/reportviewer.aspx |
| Headers | Content-Type: application/x-www-form-urlencoded |
| Body of the request | id=report&iscustomreport=Custom Report&reportnameonsrs=Name on SRS&CRM_Filter=encodeUriComponent(ReportXML)&reporttypecode=Report Type |
Step 4: Extract the PdfDownloadUrl from the Report Viewer page
If you run the flow that you’ve built so far, you’ll see that the HTTP Request that we just added returns a big, long HTML string. This string is the report in HTML format and if you were to look at it in a web browser, it would show you the report viewer.
If you look at the page source, deep inside a JavaScript function you can find the URL needed to download the Report as a PDF.
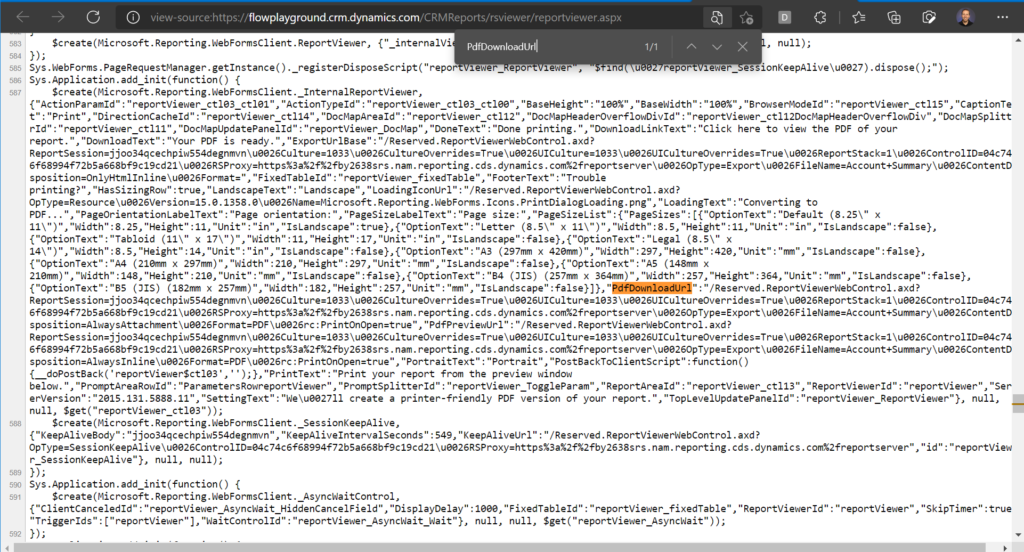
Let’s extract the value for PdfDownloadUrl so we can load it into another request and get our PDF. We’ll do this in 3 parts.
Step 4.1: Figure out where the PdfDownloadUrl string starts
We need to add a Compose action with the following:

add(
  indexOf(
    HTTP - POST Report Viewer -> Body,
    '"PdfDownloadUrl":"'
  ),
  18
)
Note: The Body tag is from the action you added in step 3.
Step 4.2: Figure out how long the PdfDownloadUrl is
Add another Compose action with the following:

sub(
  indexOf(
    HTTP - POST Report Viewer -> Body,
    '","PdfPreviewUrl"'
  ),
  Step 4.1 -> outputs
)
Step 4.3: Extract and convert the PdfDownloadUrl from the body
In our final Compose action here, we will extract the string containing the URL we need to load.

replace(
  substring(
    HTTP - POST Report Viewer -> Body,
    Step 4.1 -> Outputs,
    Step 4.2 -> Outputs
  ),
  '\u0026',
  '&'
)
Step 5: Download the PDF
HECK YEAH! YOU ARE KICKING ASS! You’re now ready to make the final request that’s going to download the report as a PDF. Go you! You’re a Flow superstar if you’ve made it this far.
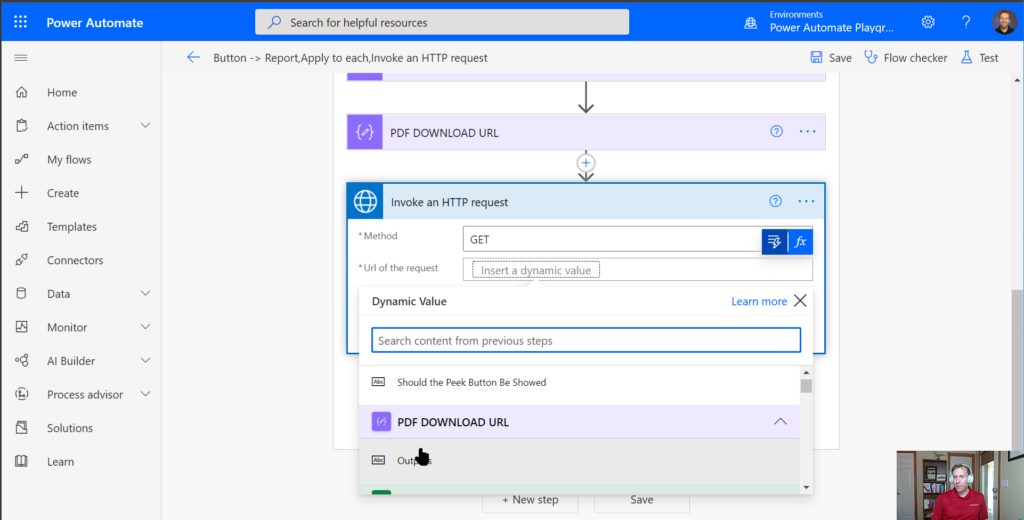
You need to add another Invoke an HTTP Request from the HTTP with Azure AD connector. Then all you have to do is send a GET request to the PdfDownloadUrl you extracted in Step 4.3.
This is literally it. If you run this flow now, it will get the Report specified by name with the Report XML you sent over to it. But it’s not very useful to have a flow that doesn’t do anything, is it?
I promised you a reusable Child Flow, so let’s convert our work so far into something we can use.
Step 6: Use a variable to send the Report PDF data to our Parent Flow
We need to get our PDF data out of the loop that flow created for us when we looked at the Report, so let’s do a few things.
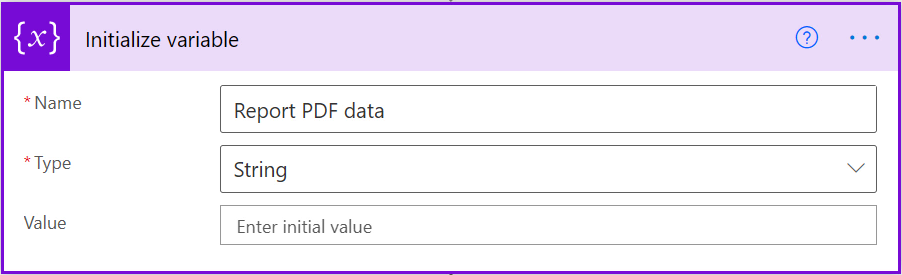
Step 6.1: Initialize a variable
Add an Initialize a variable action for a String somewhere near the top of your flow. You pick where it goes. Just somewhere underneath the trigger.
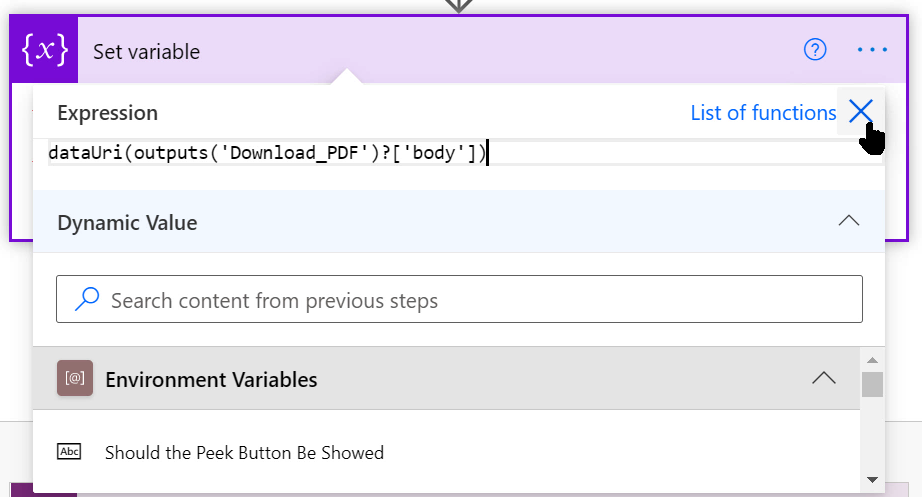
Step 6.2: Set the variable
After the PDF Download HTTP request, you need to assign the variable as an expression of dataUri(PDF Download Request -> Body)
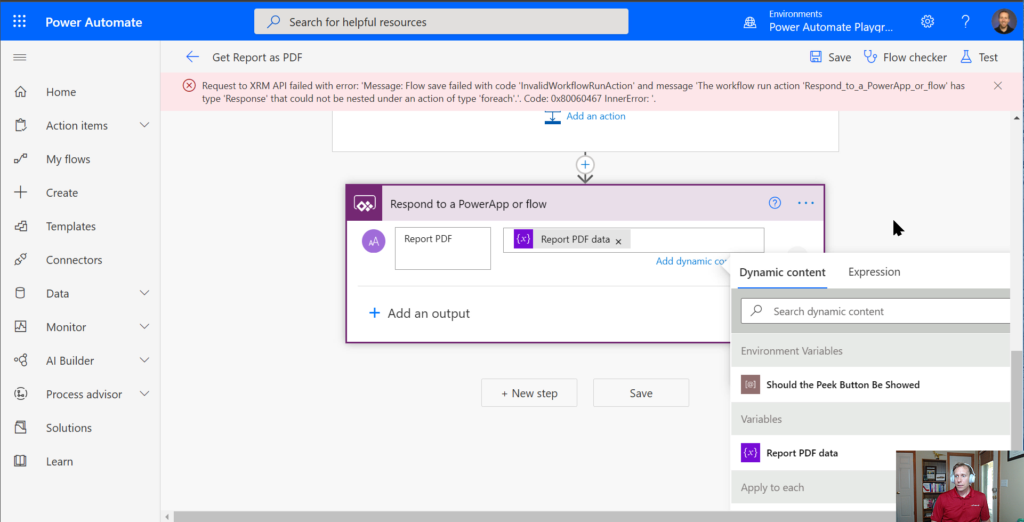
Step 7: Respond to a PowerApp or flow
Add a final action all the way at the bottom of your flow using the + New Step button and select the action Respond to a PowerApp or flow.
Inside this, you’ll want to provide a name like Report PDF, and the value will be the variable you assigned in step 6.2.
If you’re up and running with the help of this post, we give you five stars!
The video and article here will get you pretty far down the path. But what if it’s not far enough? Do you you want to do more amazing things? HAVE NO FEAR!
I’m super friendly and would love to help you with your flows. Just fill out the form below and I’ll get in touch with you. Together, we’ll go soooo far. Let’s chat!