Adding a Custom Entity to the Dynamics 365 App for Outlook
Out of the box, the Dynamics 365 App for Outlook is phenomenal when you need to regard an email to a Contact, Account, Lead, Opportunity or other main entity. But what happens when you need to set it regarding a custom entity? There are a few necessary steps in order to achieve this. Additionally, you will need the System Administrator or System Customizer security role.
If you need to add a Custom Entity to the Regarding lookup, there are two simple steps.
- In your Sandbox system, add your Custom Entity to a solution file.
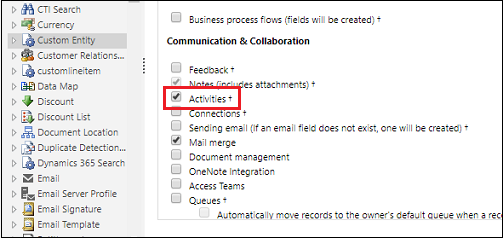
- On your Custom Entity, ensure that Activities are enabled.
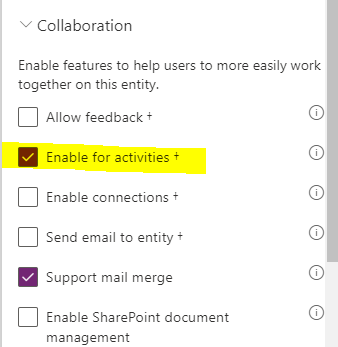
In make.powerapps.com, when you add a Custom Entity, you can enable Activities under the Collaboration section:
Now that you have added the ability to set an email regarding your Custom Entity, you may want to add it to your Site Map for the App for Outlook.
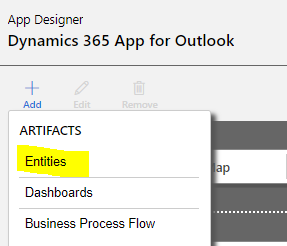
1. Add the Dynamics 365 App for Outlook App to your solution file.
2. Open the App Designer

3. At the top, click the plus icon (+ Add) and select Entities
4. Find the entity you want to add to the Dynamics 365 App for Outlook and check the box next to its name. This will add all assets to the App Designer page. (Note: If you want to streamline which assets appear for this or any other entity (forms, views, charts or dashboards), check out this article which describes more about components in the Power App.)
5. Save your changes and publish the App.